
DIY Rustic Drop Table
Sometimes the simplest projects make the biggest statements! This drop table was a simple project, suppose to be a quick flip for A Rustic Rose. But before it even made it onto my sight it found it’s forever home in my own home:)- I often fall in love with the pieces I’m doing but can usually part with them. Thist wasn’t the case with the drop table. But enough about keeping the piece, let’s talk about how the piece came together.
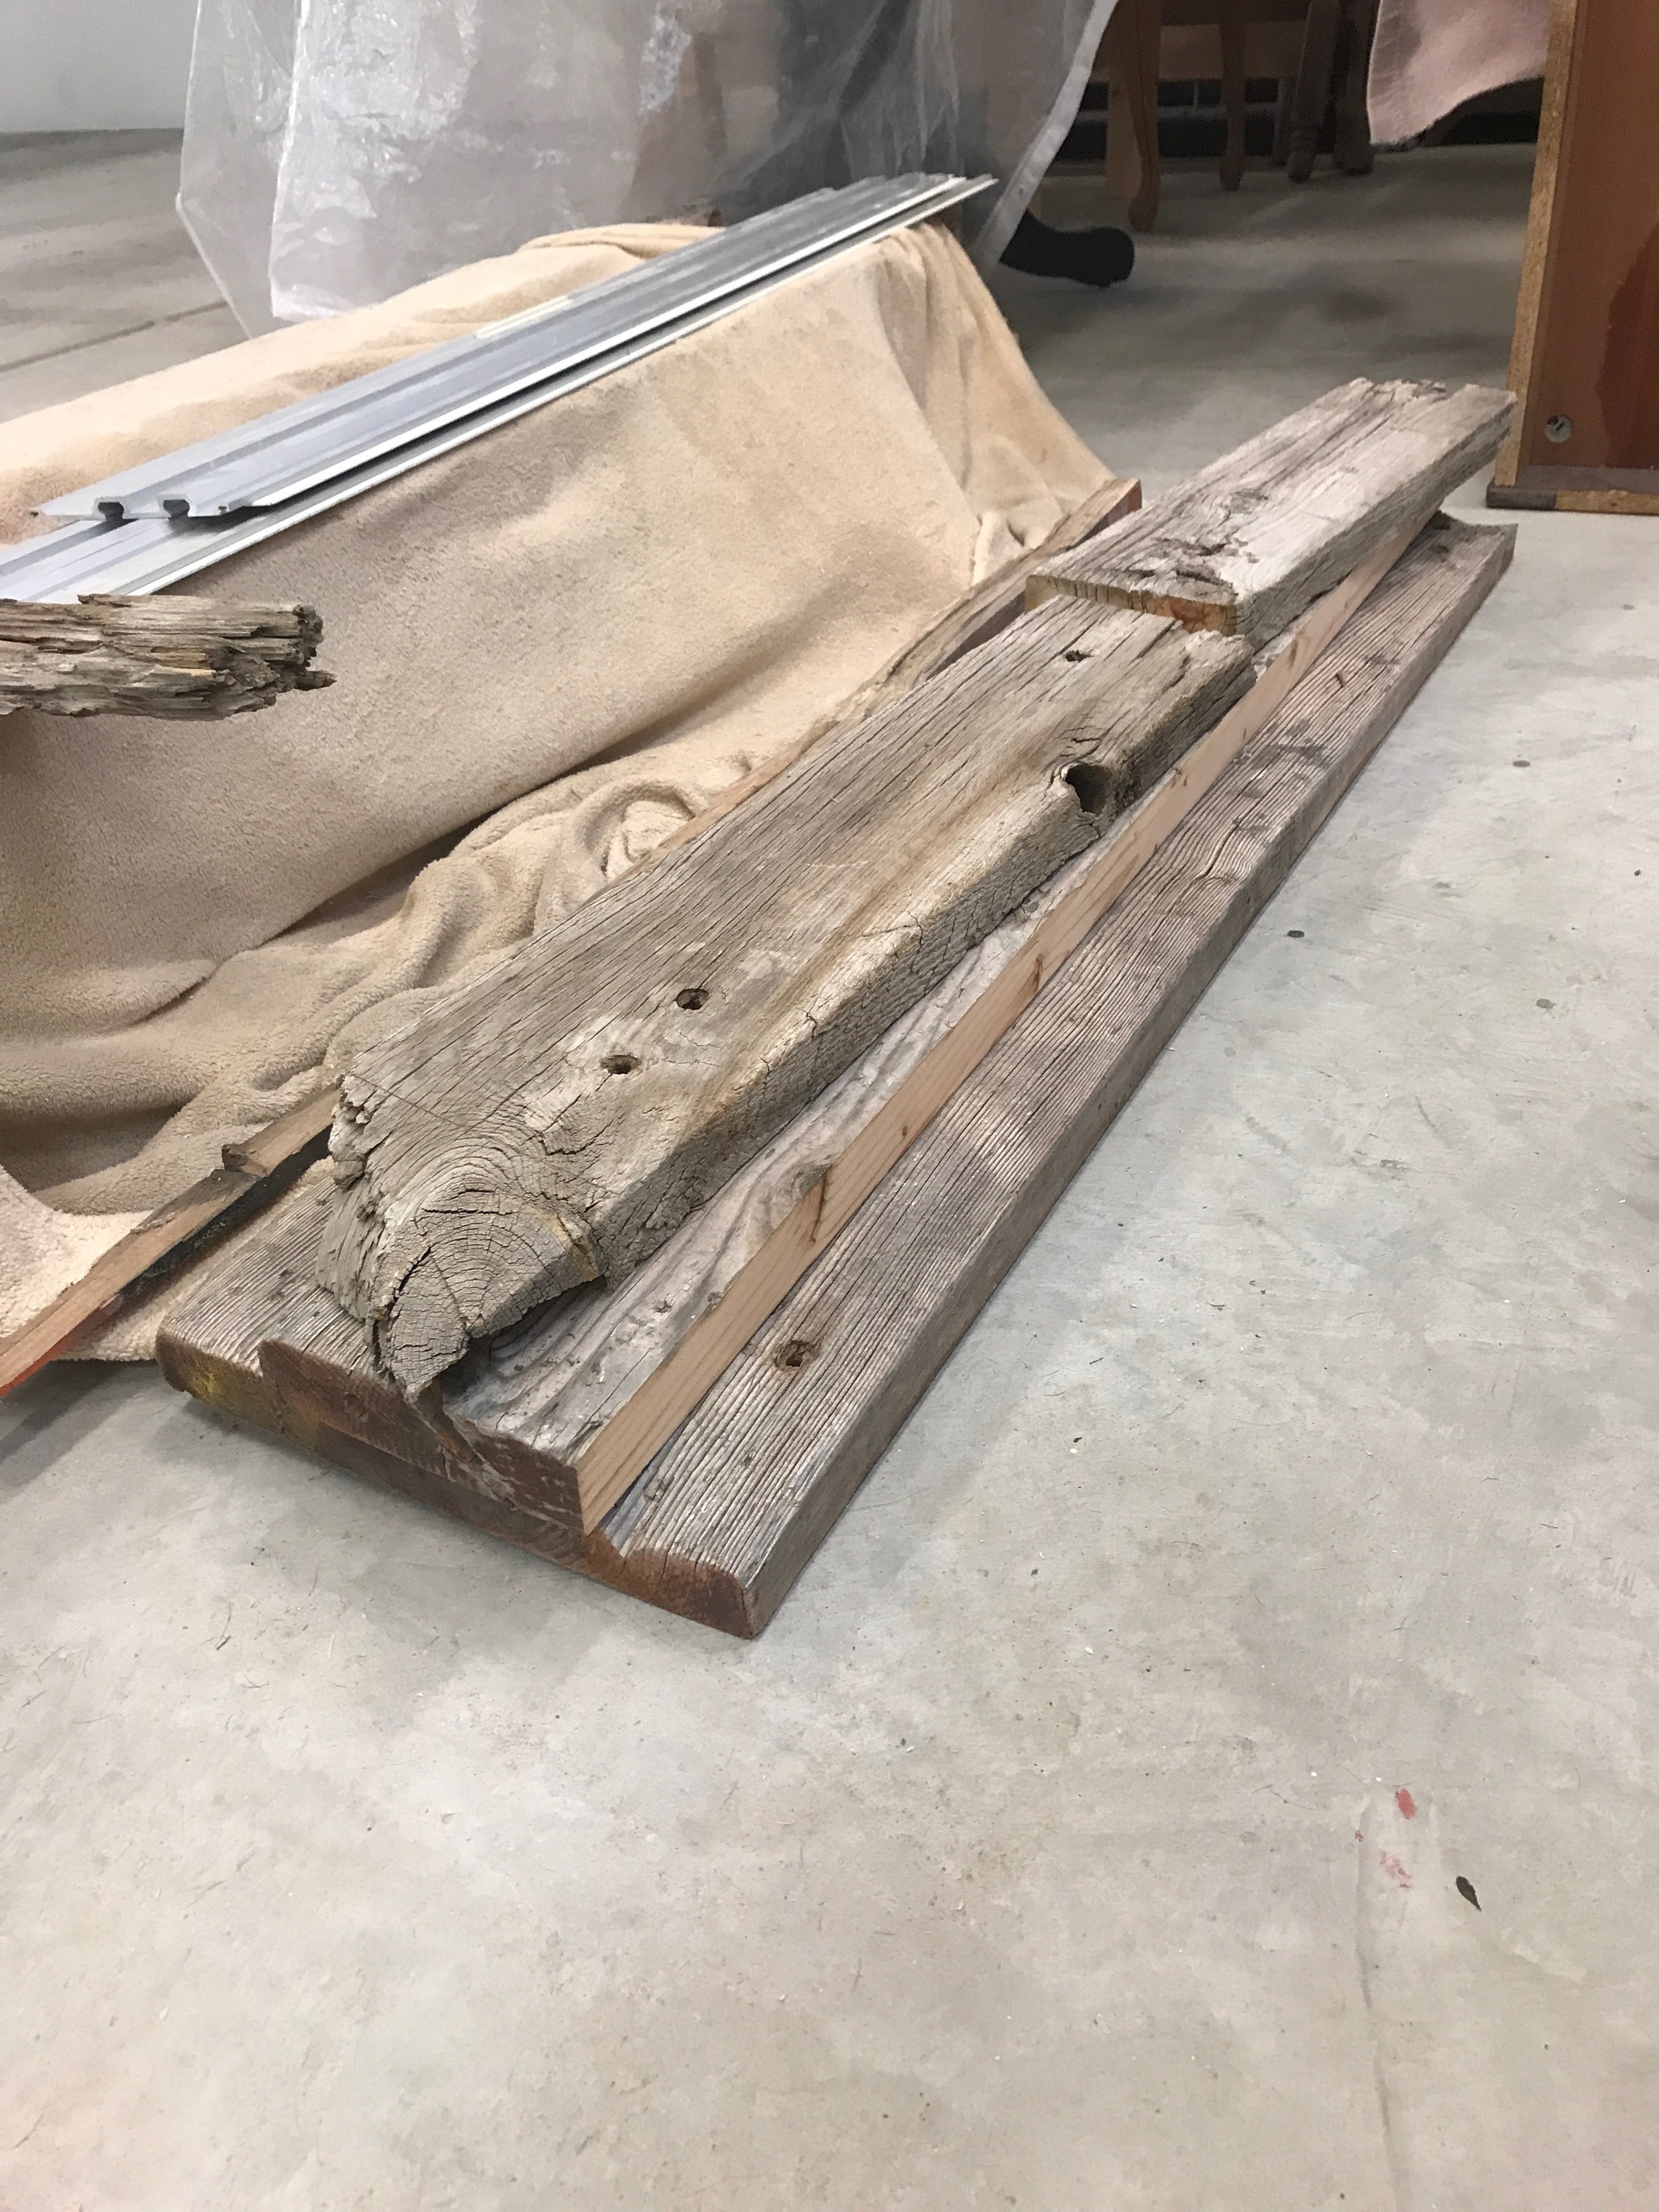
The pile of wood from our pick!
I am addicted to looking for furniture. I use Letgo, OfferUp and FB Marketplace along with other local stores and garage sales to find pieces. I have recently decided that I want a new bed frame for my youngest daughter. I was looking for something fairly inexpensive that I could redo when I came across 3 headboards for sale for $20. They had neat character and I know I could do something with them even if they didn’t work for my daughter's room. My husband and I went to pick them up and as we parked and got out of the car I thought I was on an episode of American Pickers!! This young couple was moving and they had to get rid of all the treasures they had collected over the past few years. I got the headboards, stay tuned to see what they turn into, and as we were loading them up I noticed some wood laying in the bushes in the front yard. They were battered and weathered, I feel in love instantly and they were so excited that I wanted them that they just gave them to me. The wife asked me if I wanted to look through the backyard at what else they had. I said of course!!! I didn’t really see much that grabbed my attention until she showed me 4 triangular shapes metal legs. They were white at one point in their life but now the paint was chipping and some of the metal had started to rust a little bit. They were still solid and had the look I strive to get on some new pieces. I instantly had a plan in mind, I would use a piece of wood from the front yard and put these legs on it. What made the deal even better was when she said I could have them for $5!!!!! Looking back I probably should have given her a little more for them but I was so excited, I said deal.
Assumably
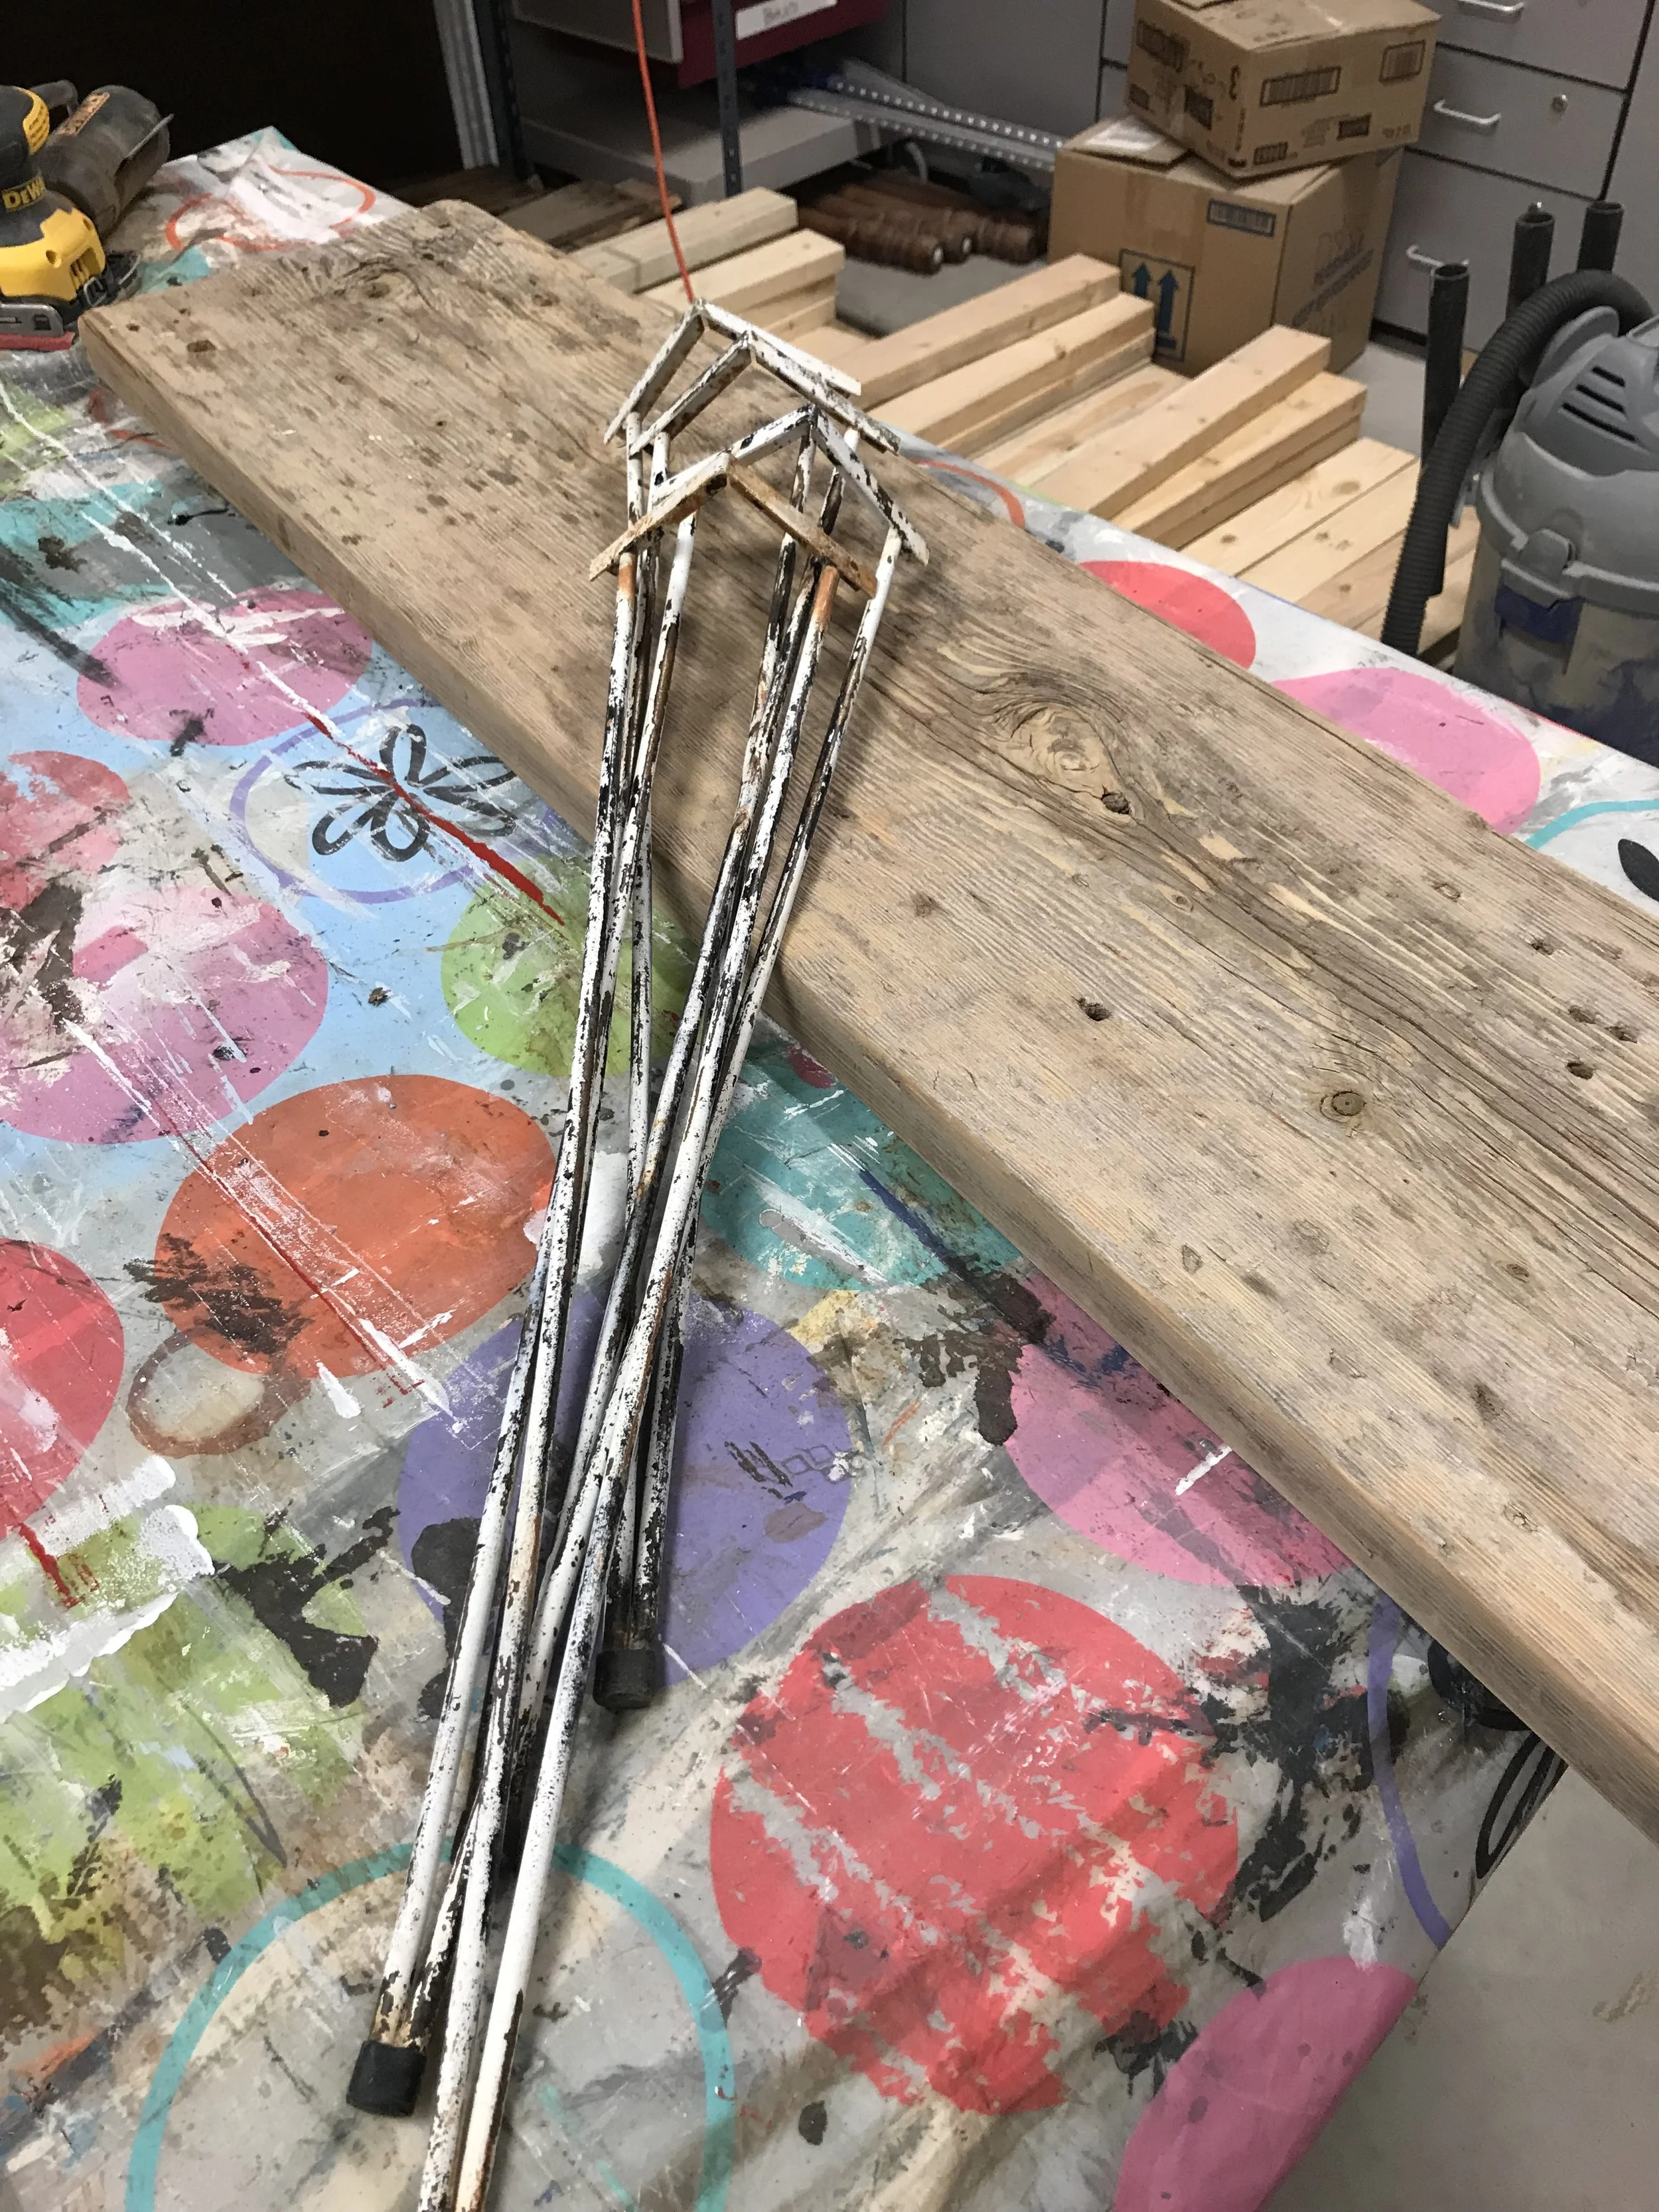
The wood and the legs before I did anything with them.
Putting the drop table together wasn’t difficult.
- First I sanded the wood a little with my palm sander to smooth any really ruff areas and to get rid of the splinters. I didn’t want to take away the character of the wood so I didn’t sand it down too much. I believe the husband said it used to be part of a workbench so I wanted to keep its story as much as possible.
- After I was done sanding, I vacuumed it down really good making sure that I got in all cracks and holes. I also wiped down the legs to make sure all the loss paint was knocked off.
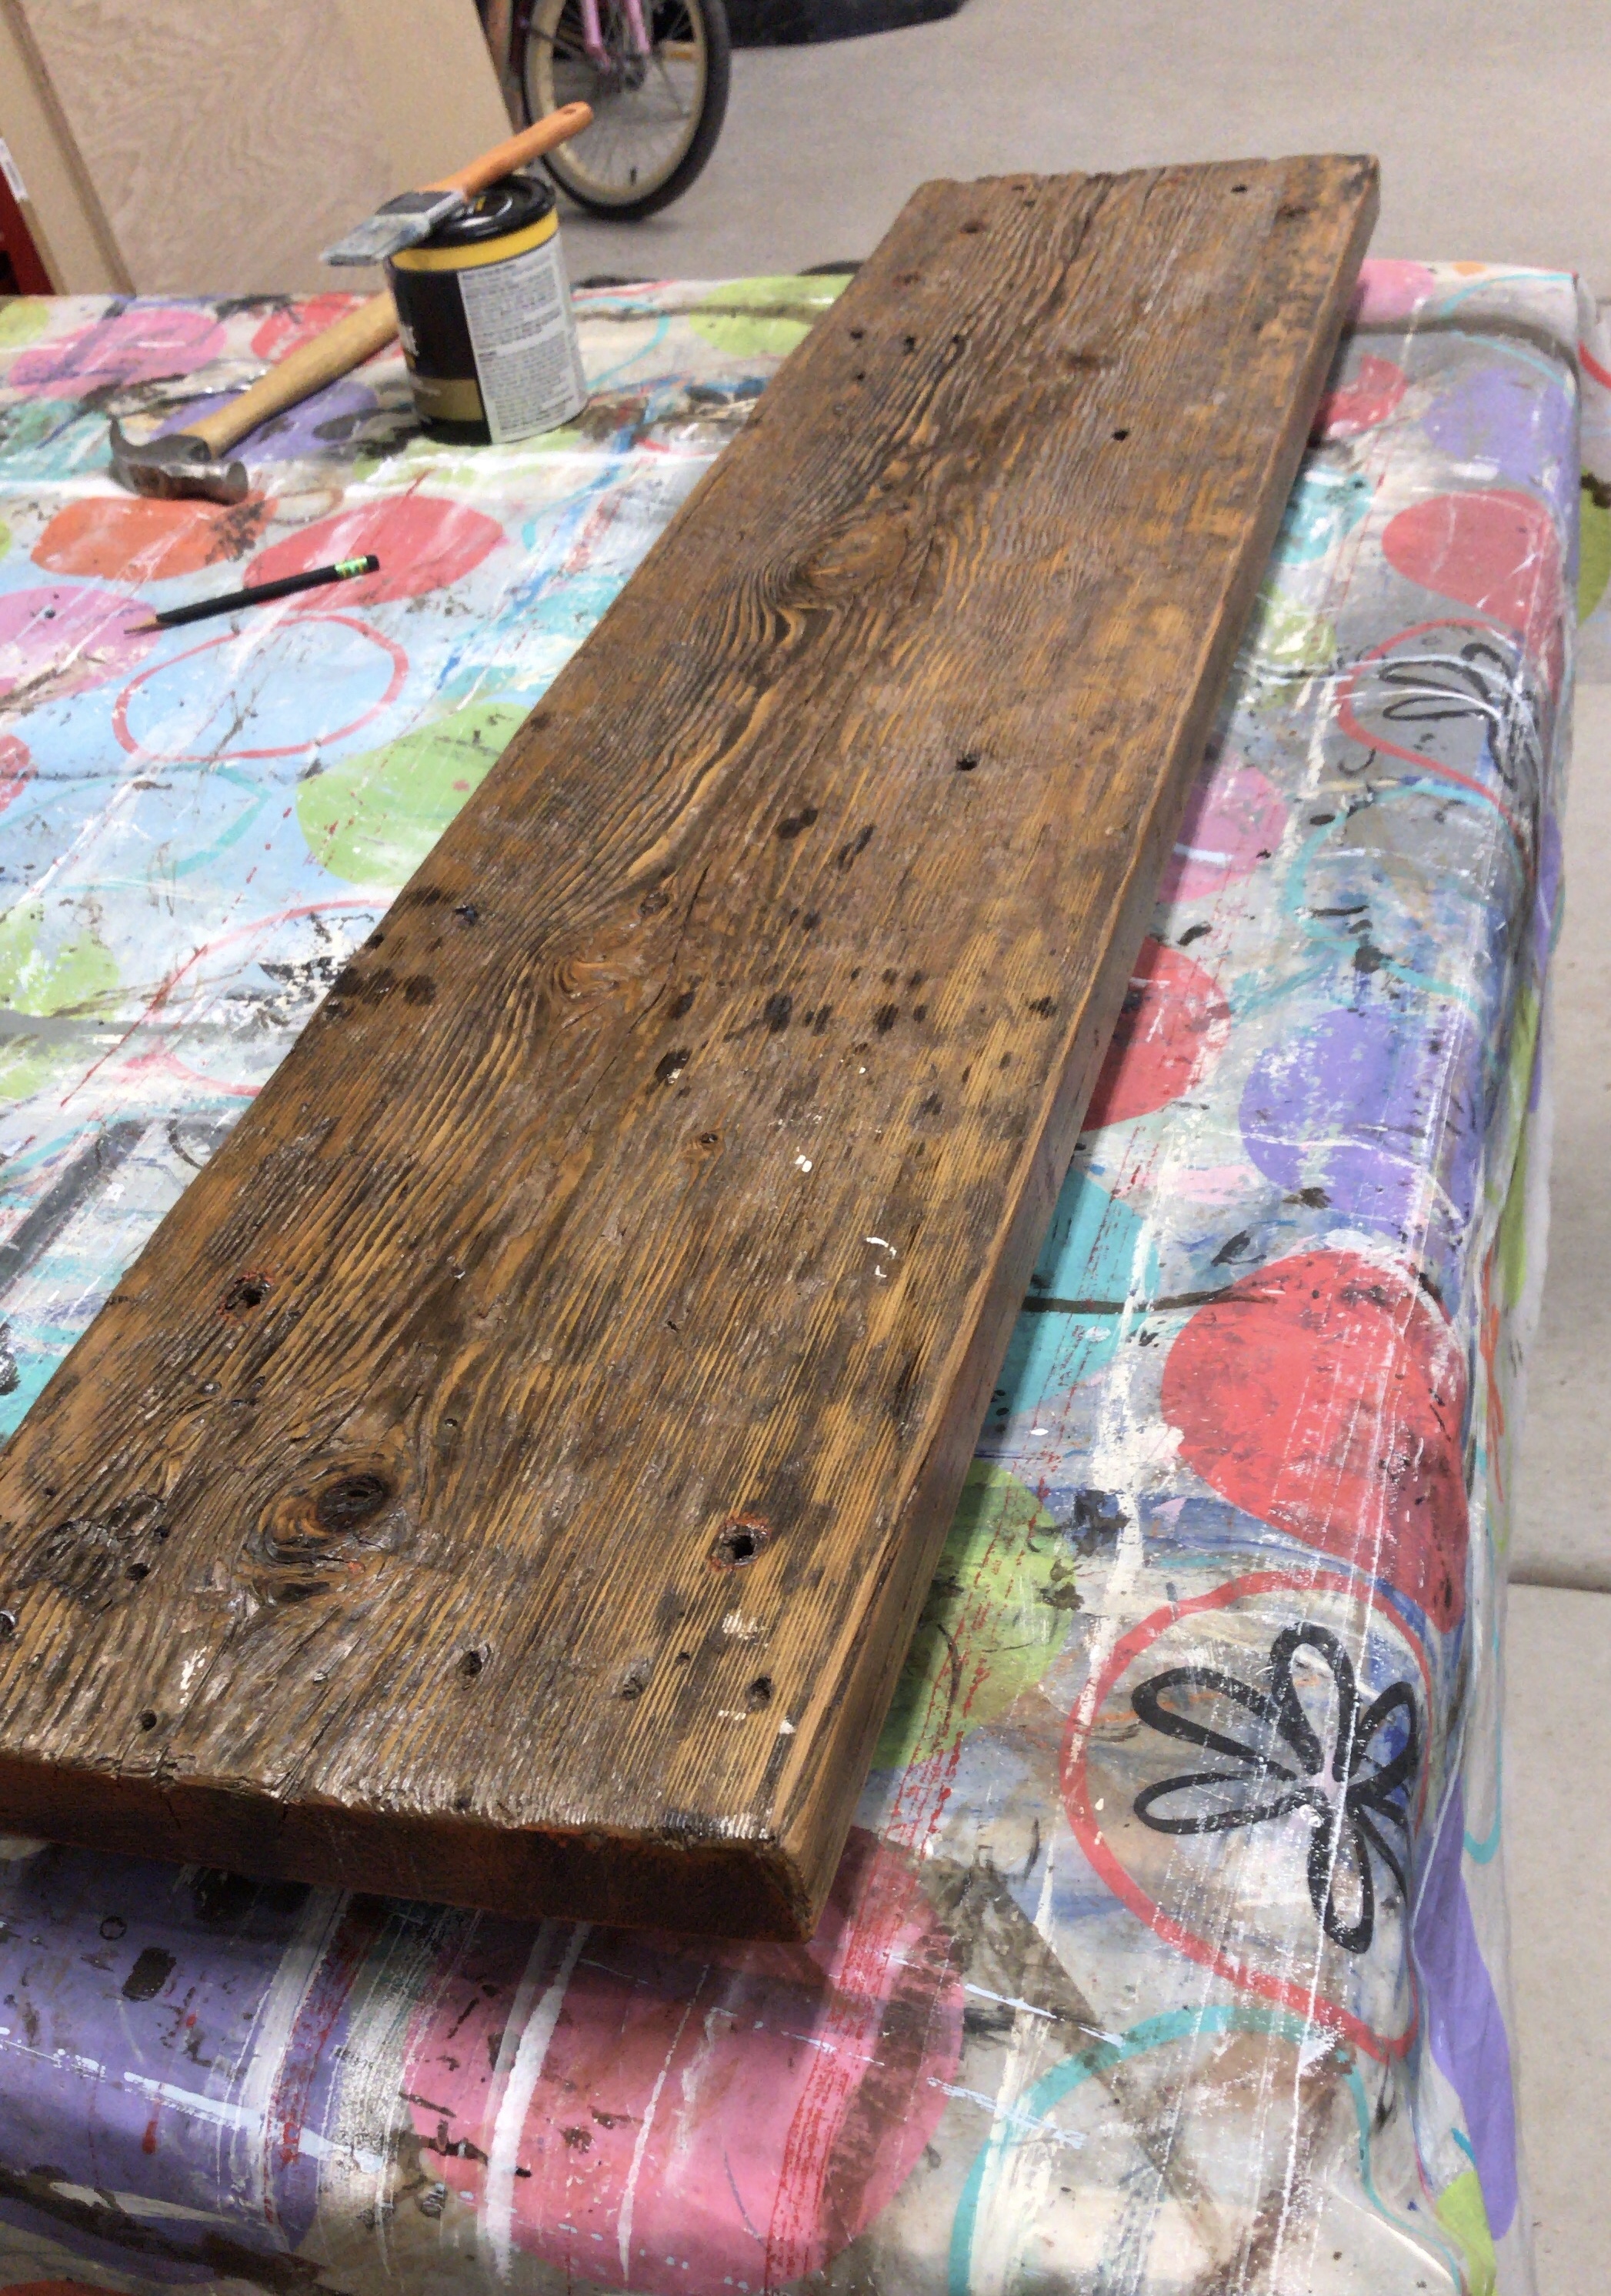
Top after 2 coats of clear coat were applied.
- With all the pieces cleaned I applied 2 coats of Minwax Spar Urethane allowing each coat dry well before applying the next one.
- Once they were good and dry I attached the legs to the bottom of the wood. I measured in an inch and a half from the edge of the wood for a guide so that the legs were even and then screwed them into place.
- With the legs in place, it was then time to let it stand on its own. And it did!!!!

The drop table standing on its own for the first time.
I brought the table into the house to take my pictures so I could post it for sale on my sigh. As soon as I put it in our entryway I fell in love with it. It was perfect for the space and I knew instantly it wasn't going anywhere! The best part is that I wasn't ever looking for a drop table for our entryway but sometimes you don't know you want something until it's right in front of you.
I am so excited because this is only one board from the generous couple and I already have plans for the rest!! Stay tuned for another blog soon that will have that finished piece! Hope this has inspired you to go find your diamond in the ruff but if you don't have the time or space to make your own contact me for a current piece for sale or let me bring you that A Rustic Rose you've been looking for.
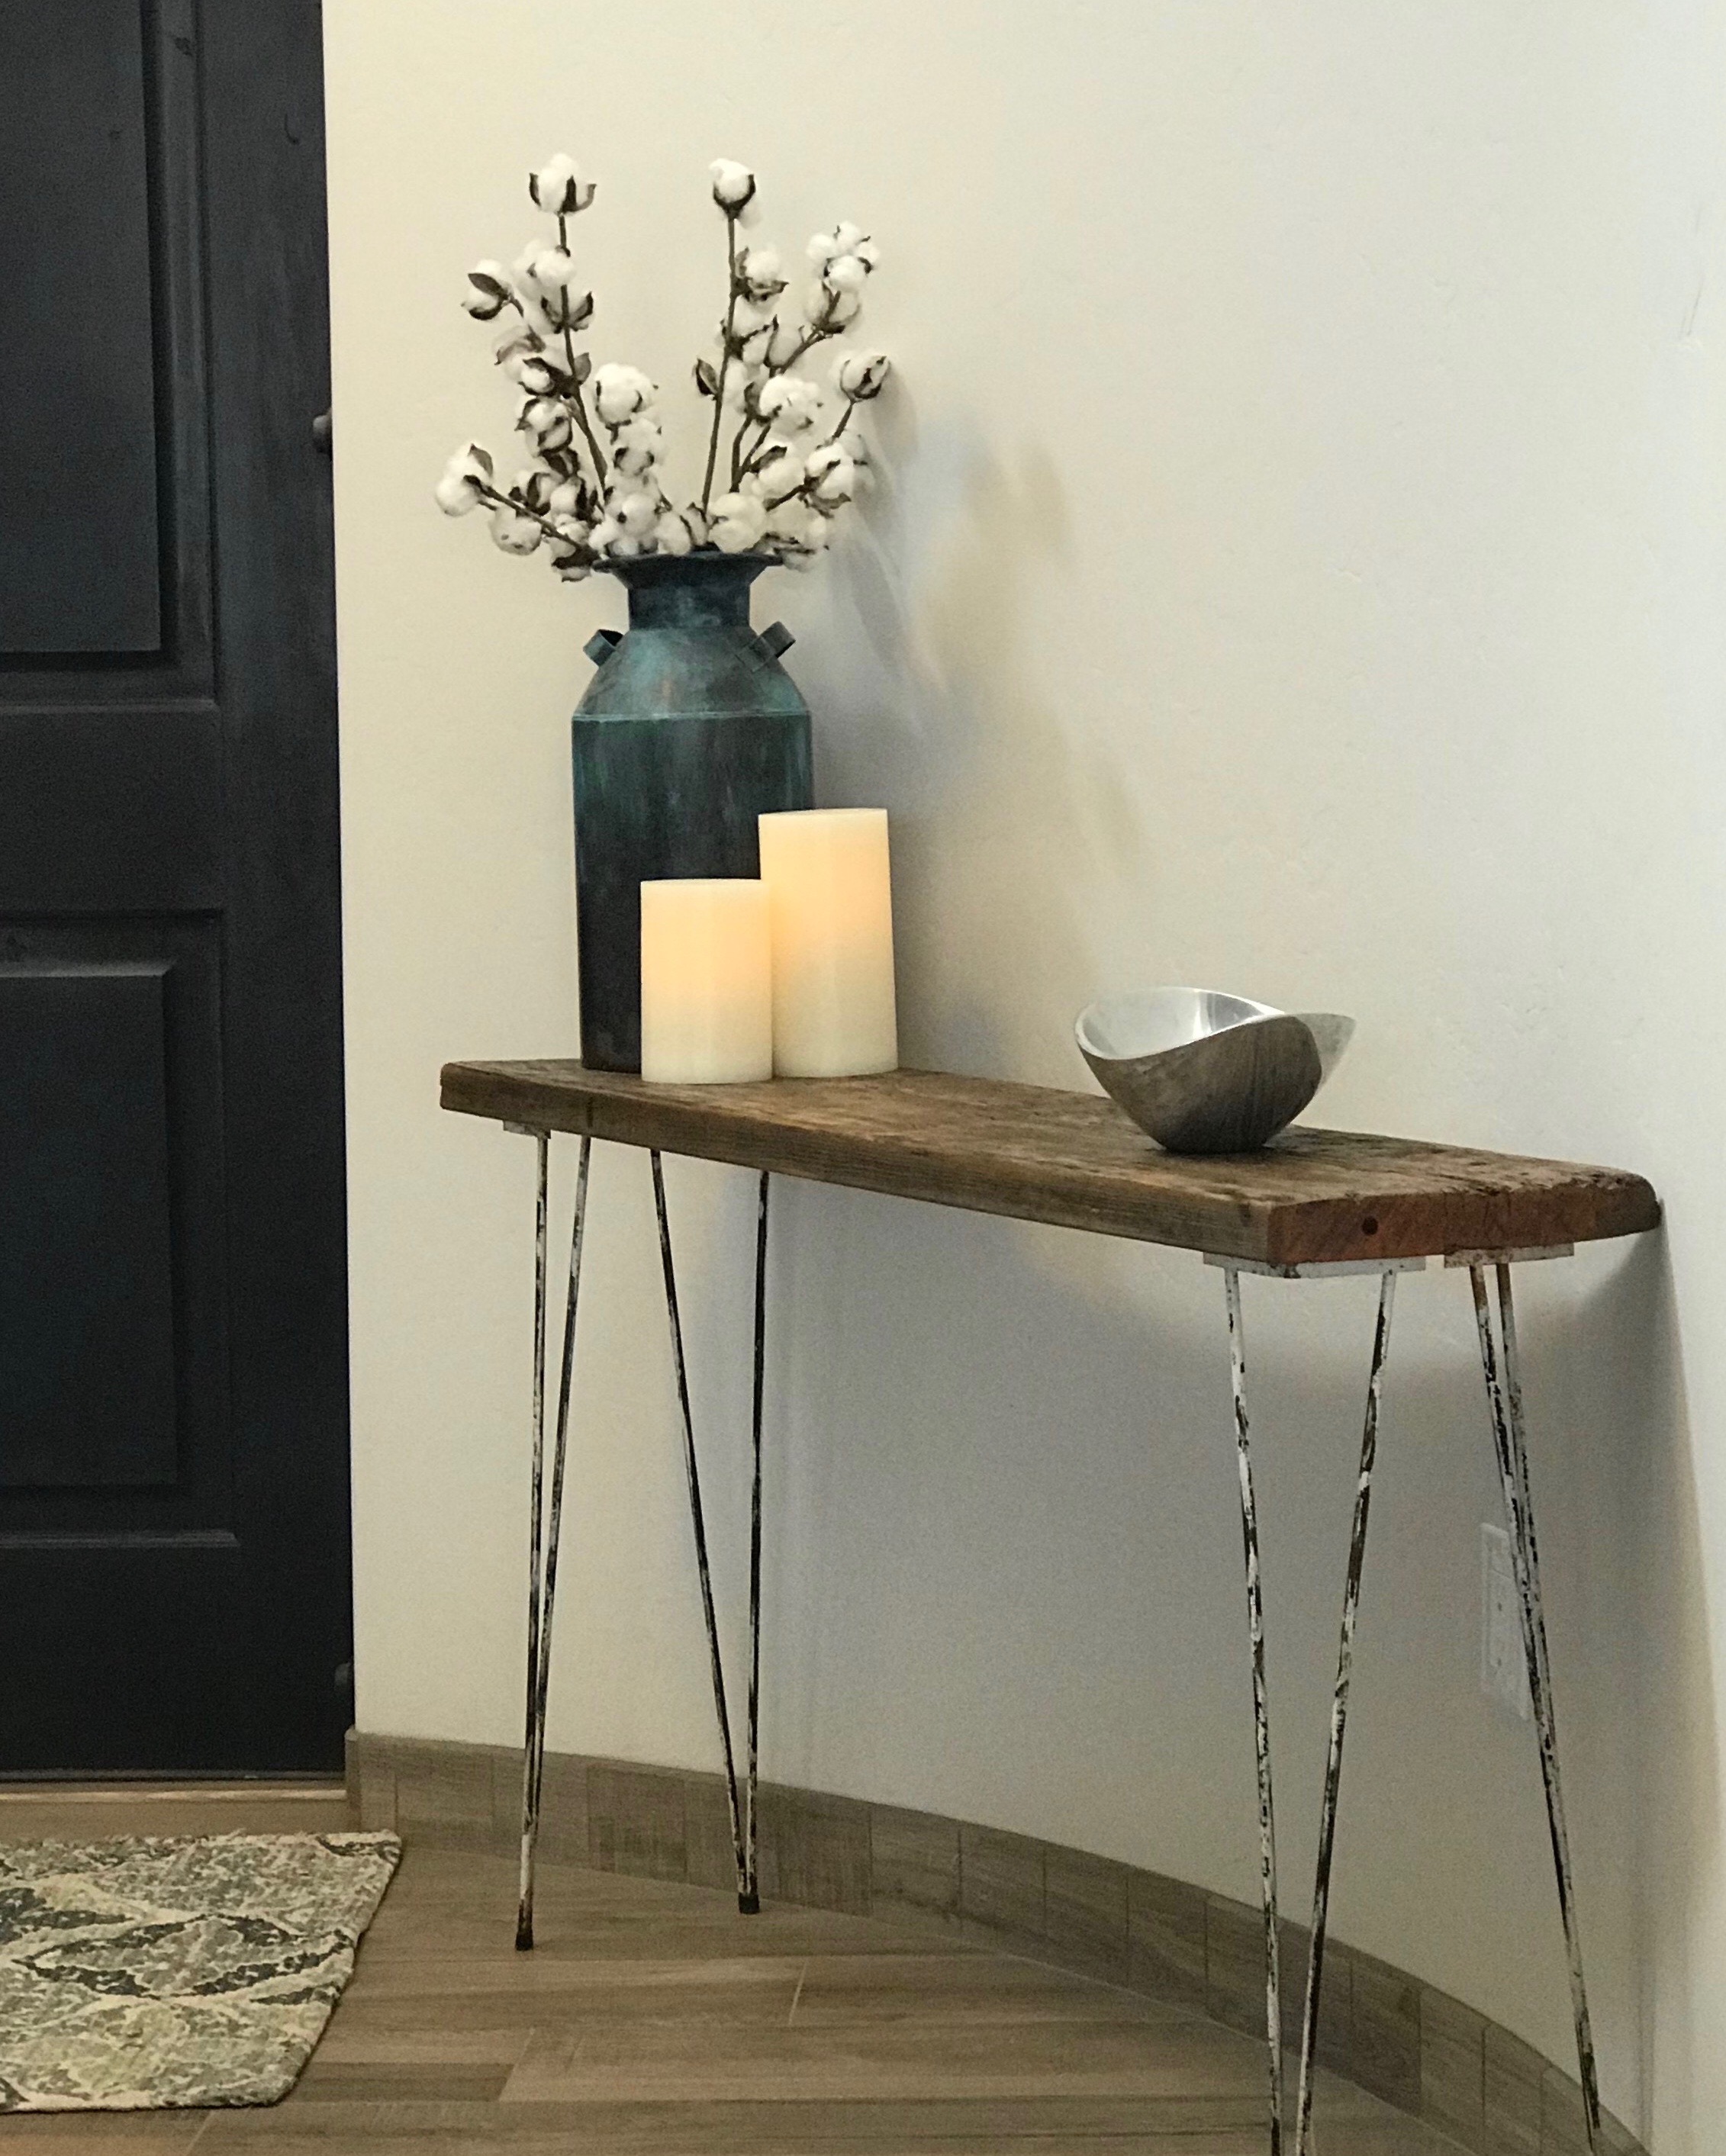
Finished drop table in its new home!
Thank you for spending time with me and until next time....
Addie