
How to Stencil
Lately I have been on a kick of making signs and other themed decor to decorate for the past few holidays. In one way or another these have all required stenciling, whether it was the faces on my pumpkins or the just words on a sign. There are a few different ways I made these stencils and below you will find how I did them. Lets get started!
Using the cricket to make a stencil

The cricket doing the work while I watch:)
The cricket makes life a little easier because it cuts everything out for you. You can have many options depending on the model of cricket you use.
• The older crickets will only cut from cartridges. The cartridges have a set theme and set designs to work with. Cartridges vary from cutting out each letter individually to a few words that will connect all the letters together. This can make it difficult if you're using a cursive font that needs to flow together seamlessly.
• With the newer models you can search and pick from the cricket website. Search and click and the cricket will cut it out. It will cut out connected cursive words and much larger verity of options.
Crickets can be expensive and have a ton of different usages, so please read up on them before running out to the store and buying one! They might not be worth the dollar if you're only going to use them once or twice but can be a huge asset to your creativity if you see yourself using it a lot.
I like to use card stock for those stencils I like to use several times, but if I know I’m going to only use it once then printer paper works just fine.
Cutting the stencil by hand
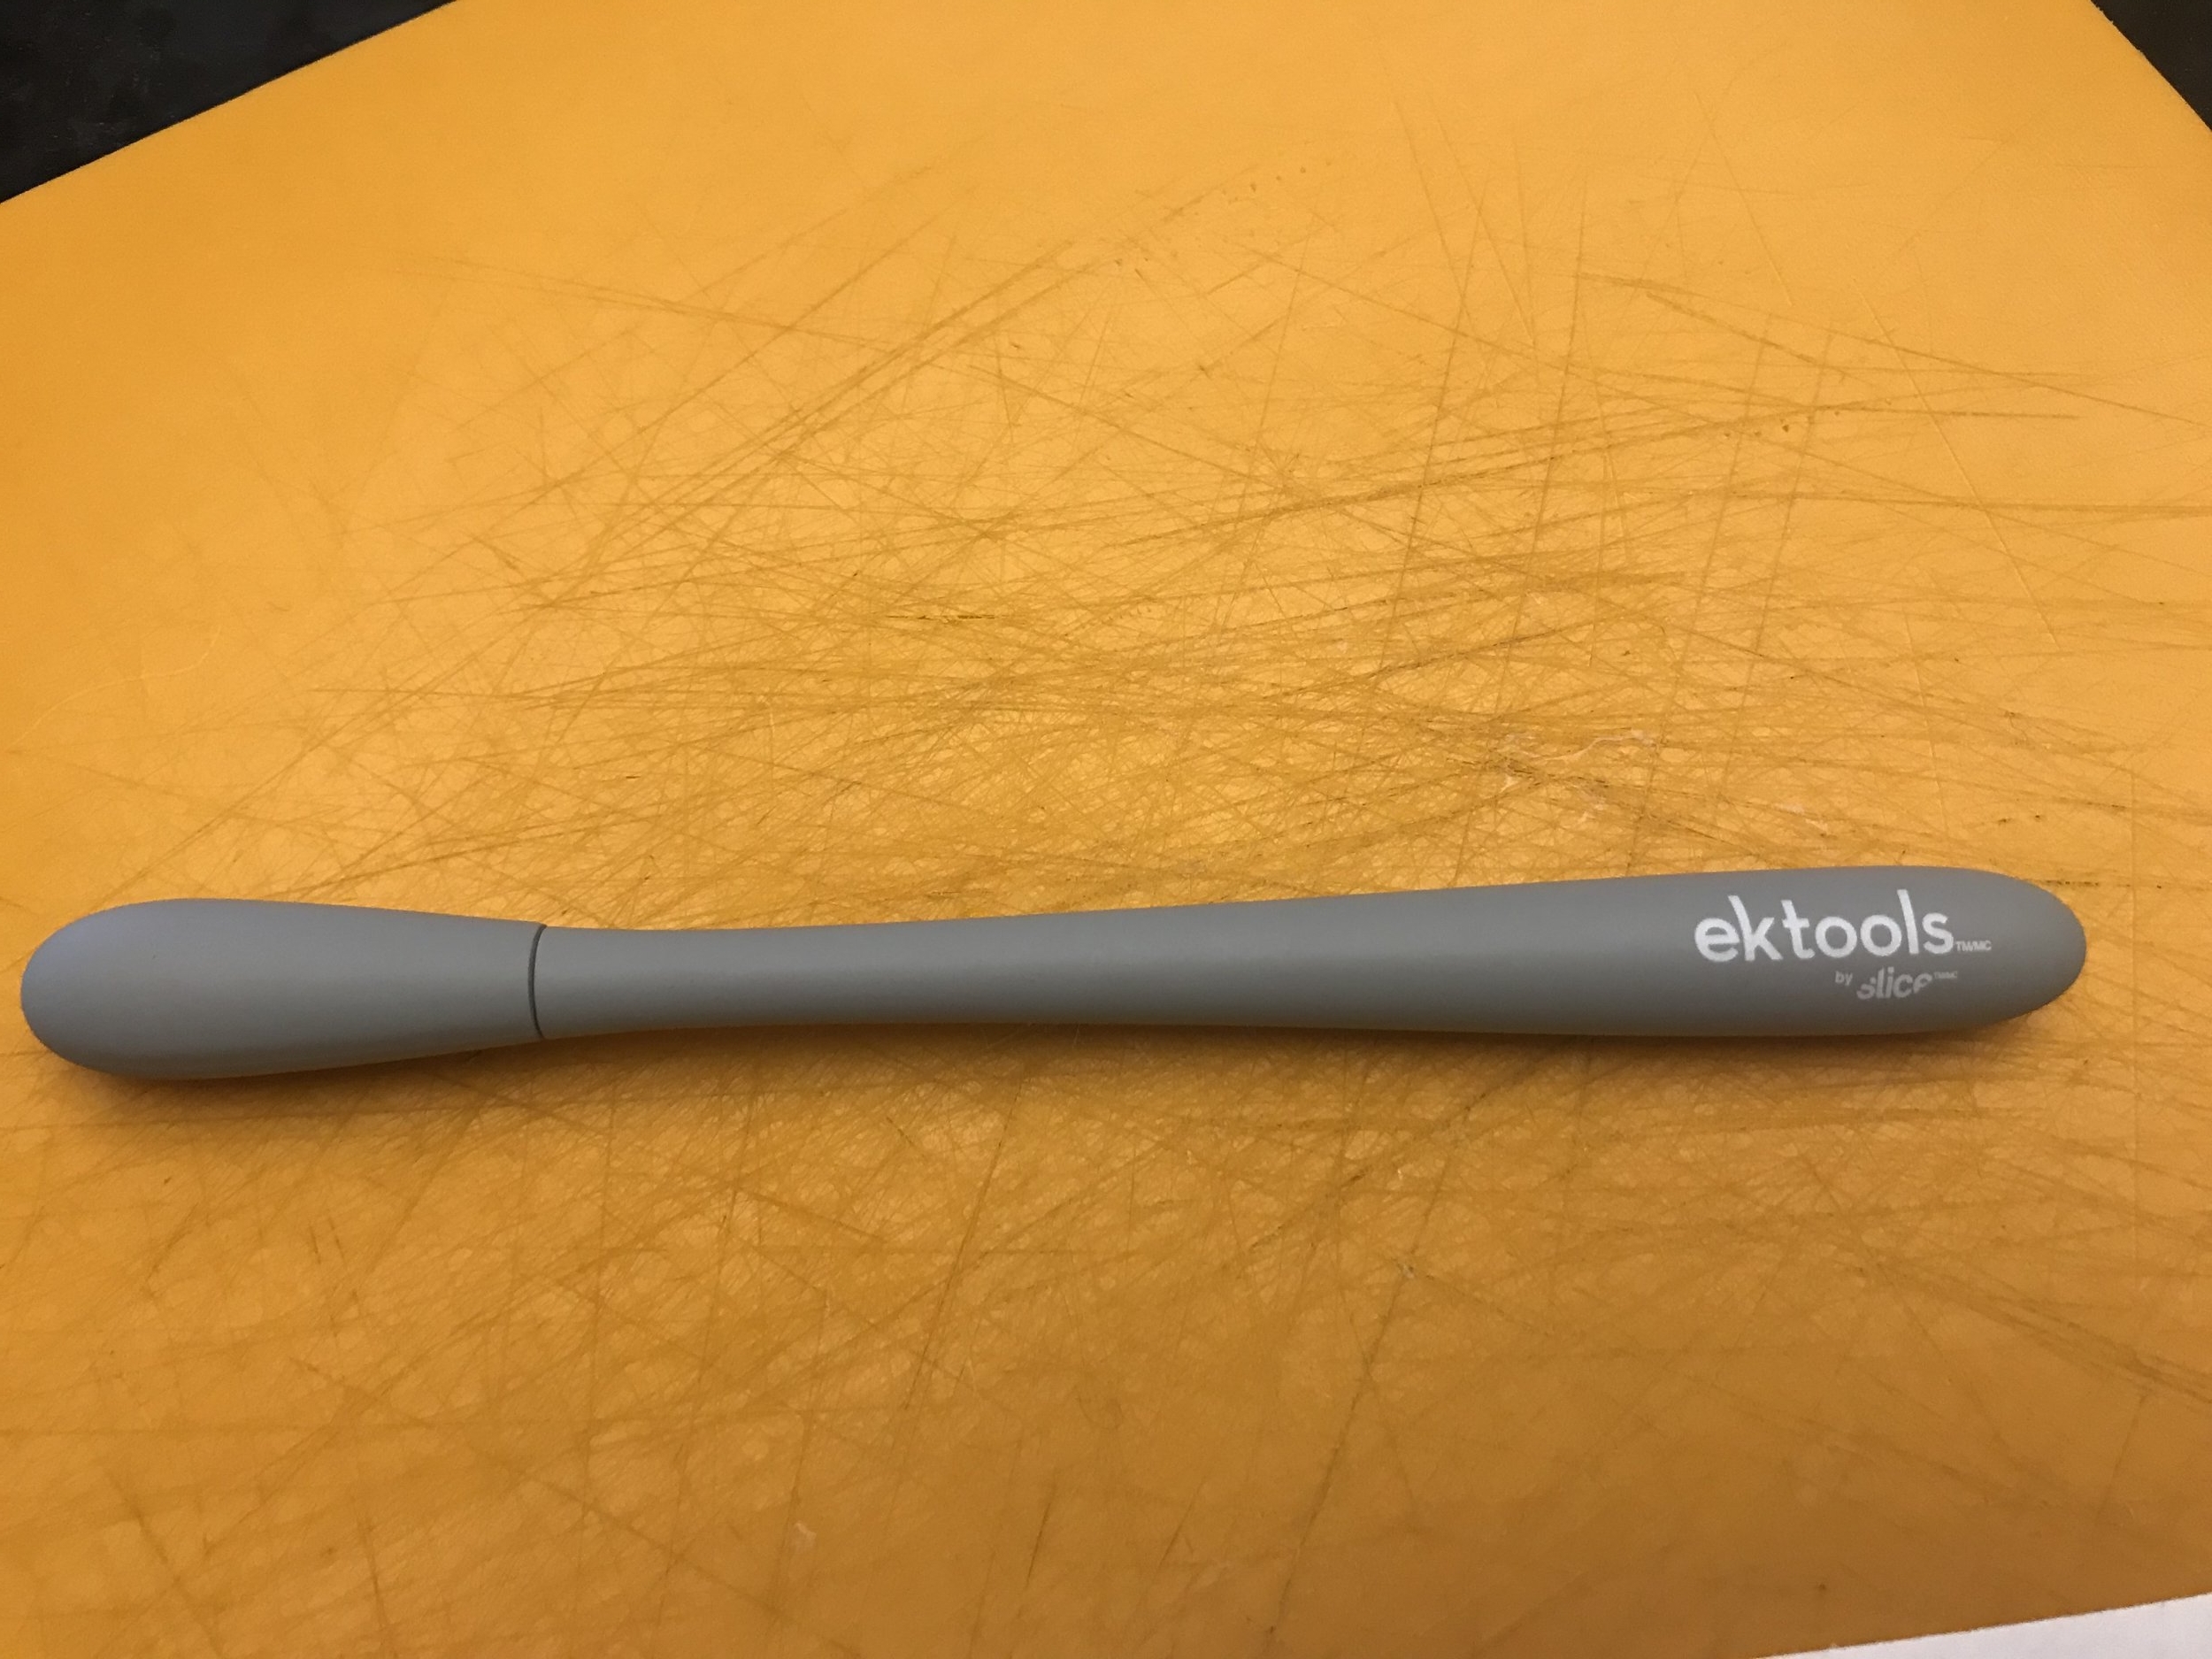
The small scrapbooking knife I use to cut out my printed stencils.
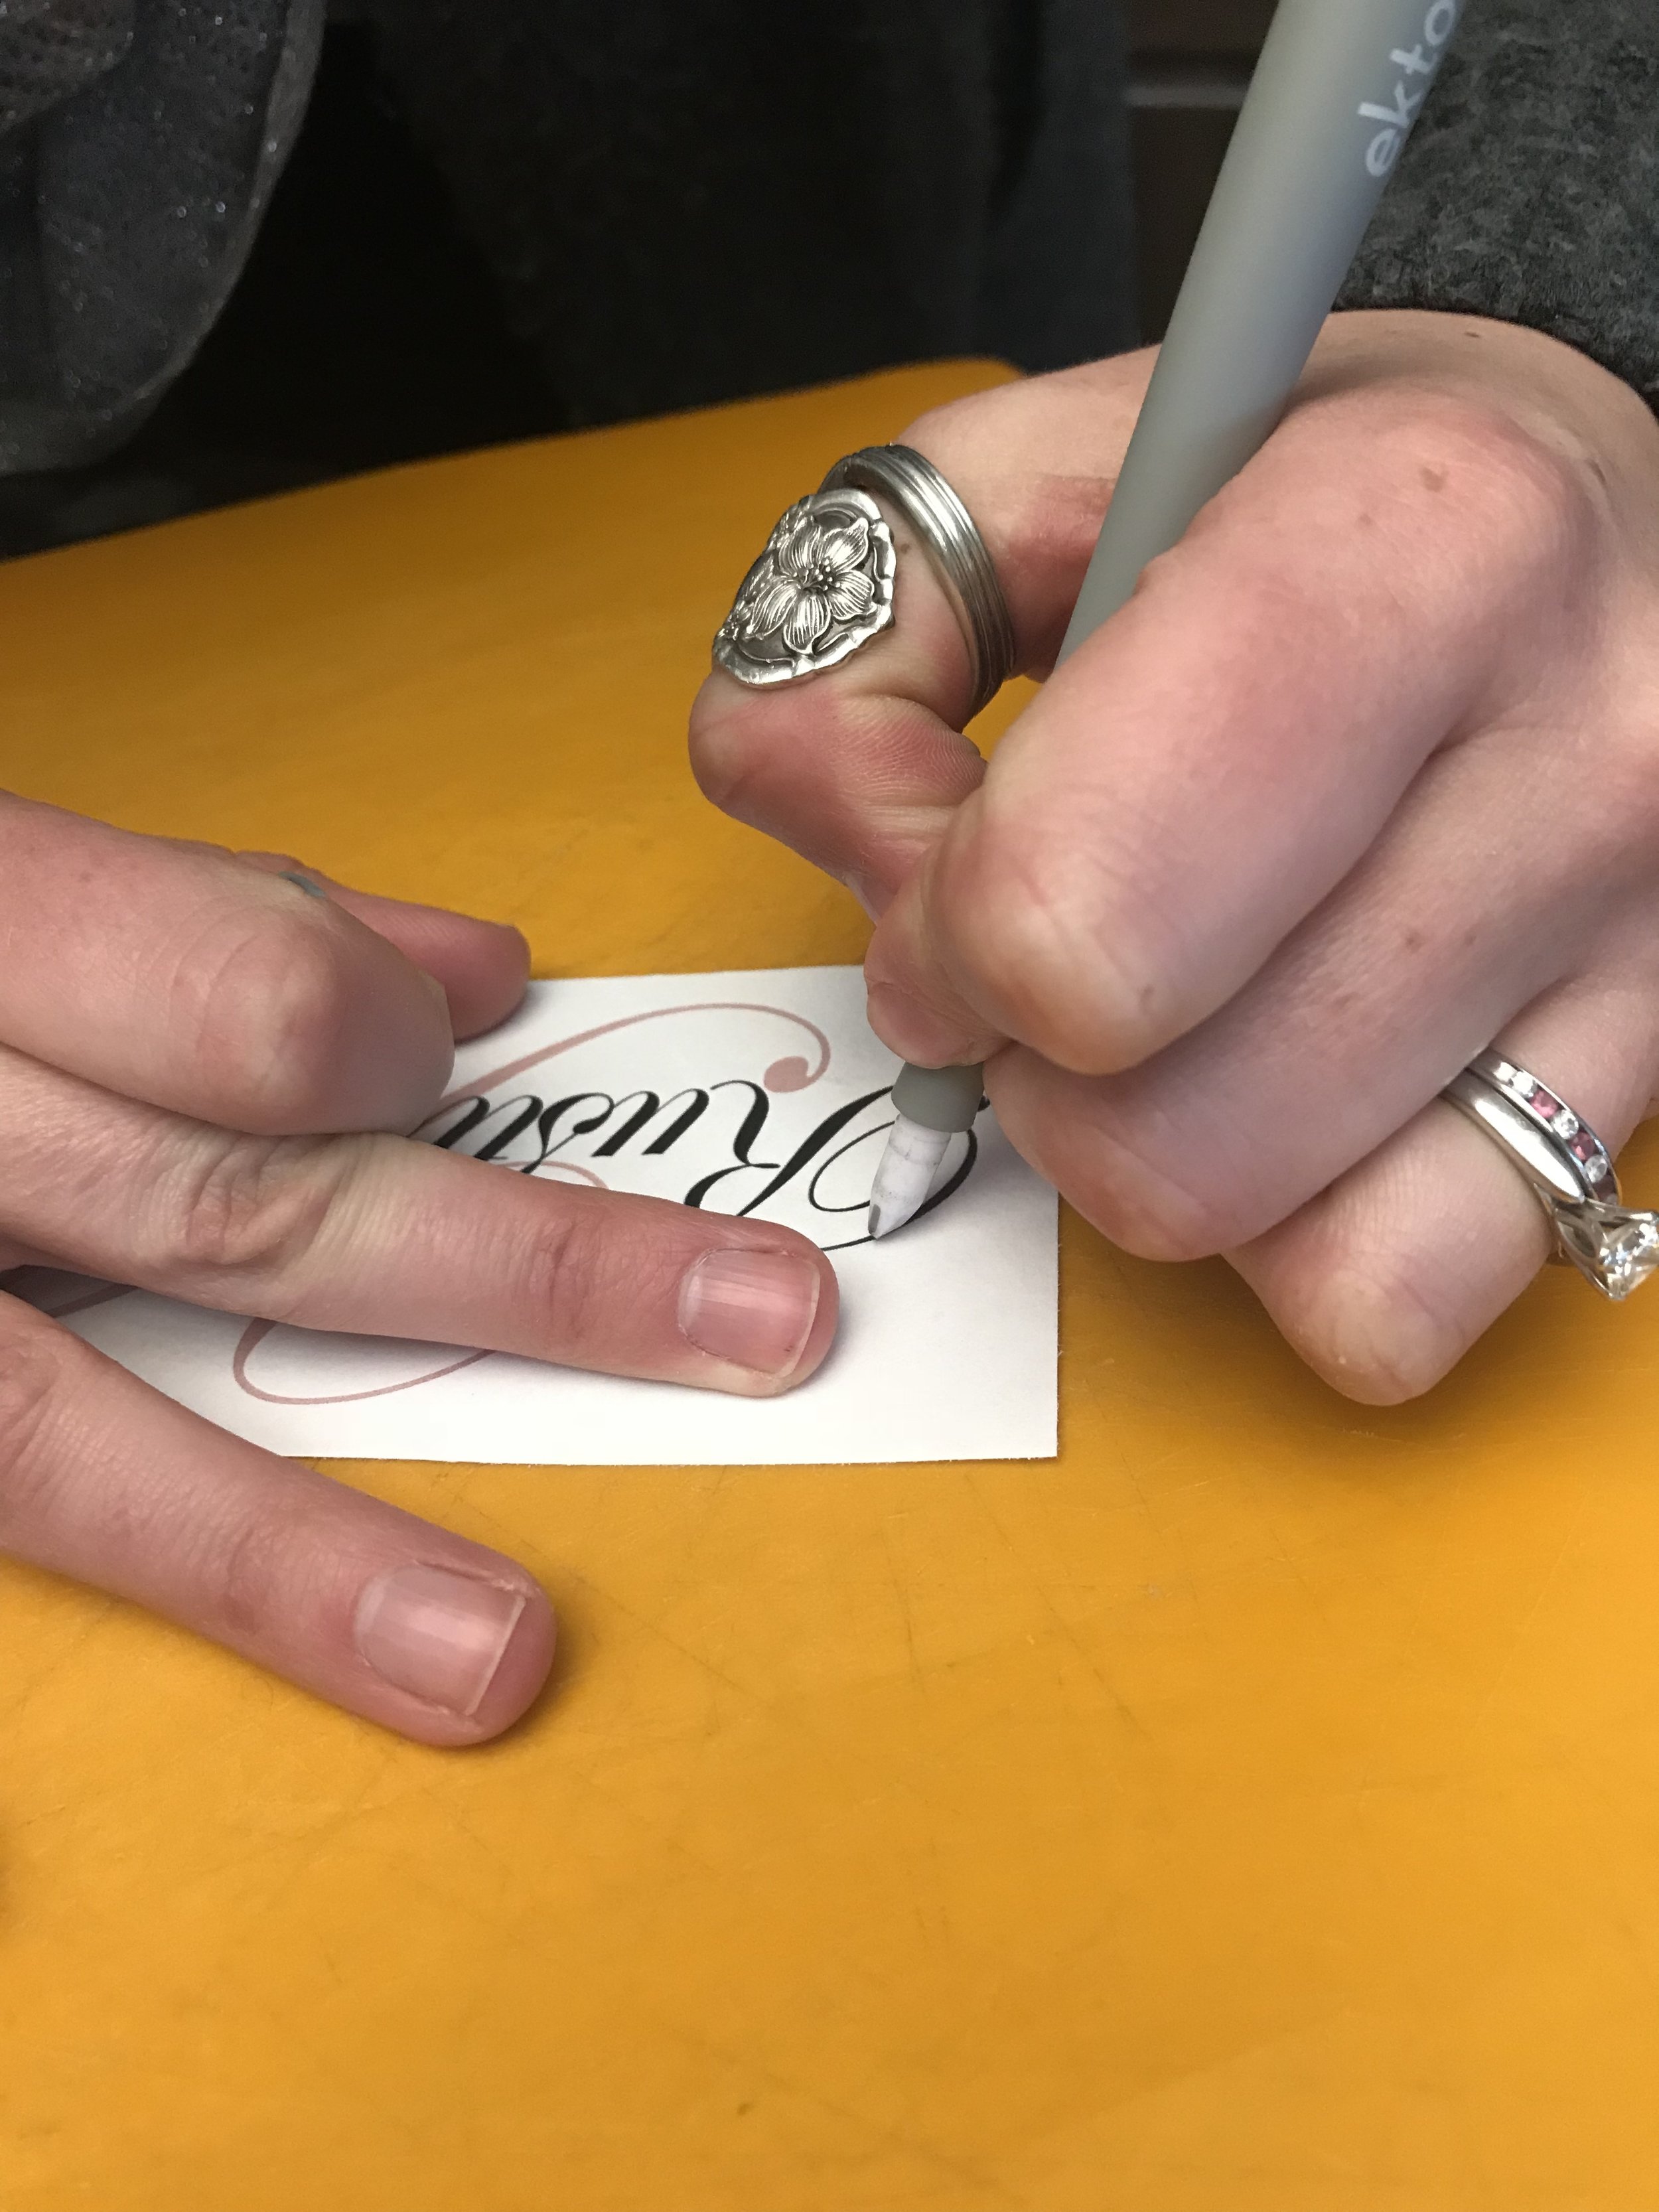
Cutting out my stencil with the small scrapbooking knife.
This process is one that I really grown to enjoy. It does take a little longer but anything you find online you can print and cut it out to be your stencil. I use a small knife that you can find in the scrapbooking section, found at a few retail stores, called ektools, I got mine at Hobby Lobby for a few dollars. It’s small blade allows you to cut out detailed wording or pictures and keep it neat and precise. Having a clean cut is important when making a stencil for a finished product that is has clean, crisp edges. It’s easier to cut your stencils out on plain printer paper too.
*Make sure when your cutting out your letters wether on the cricket or by hand too save the middles of your letters like B’s, e’s, and a few numbers like 6, 9, 0's.*
Store Bought stencils
Another way is to buy store bought stencils. I have gotten lucky a few times and found what I’m looking for at a craft store or Walmart, but for the most part I make my own. I enjoy the process of making the stencils. A lot of my project are spare of the moment and I don't want to take the time to run out and look at a few places to find what I'm looking for:)
Painting the Stencil
When it comes to painting the stencil onto my sign, I take my time to measure and line up my letters or numbers. I like to use the letters that I’ve cut out as a guide to where I want my stencils to lay. It gives me a better idea of what the final product will look like. I like to have a straight line to guide me so my words are straight. I use painters tape to make this line because the wood is fully painted and I don't want a pencil line on my finished product. Plus it’s easy to see where to place the stencil on a line with the bold blue color of the painters tape.
Once I get my measurements and letters laid out, I then come back and start placing my stencils. I use painters tape to hold each stencil in place. With the stencils secured I use a stencil brush and lightly dab a little paint at a time onto the stencil. Make sure not to get to much paint so it doesn’t bleed under the stencil. With the stencils filled in, its then time to take them off and admire your handy work!! Way to go!!

My HOME Sign that I stenciled using the Cricket to cut out the letters.
Thank you for spending time with me and until next time....
Addie