
Patio Set
I love watching a piece transform from something that nobody wants to a statement piece!!! It has to be one of my favorite aspects of the job I do. Many of the pieces I do need some love and repair but not quite as much as these 3 pieces. Even my husband thought I was crazy, he wanted to scrap the wood to burn in our fireplace. But I saw some huge potential in the pieces and knew I could give them a new life!
Repairs
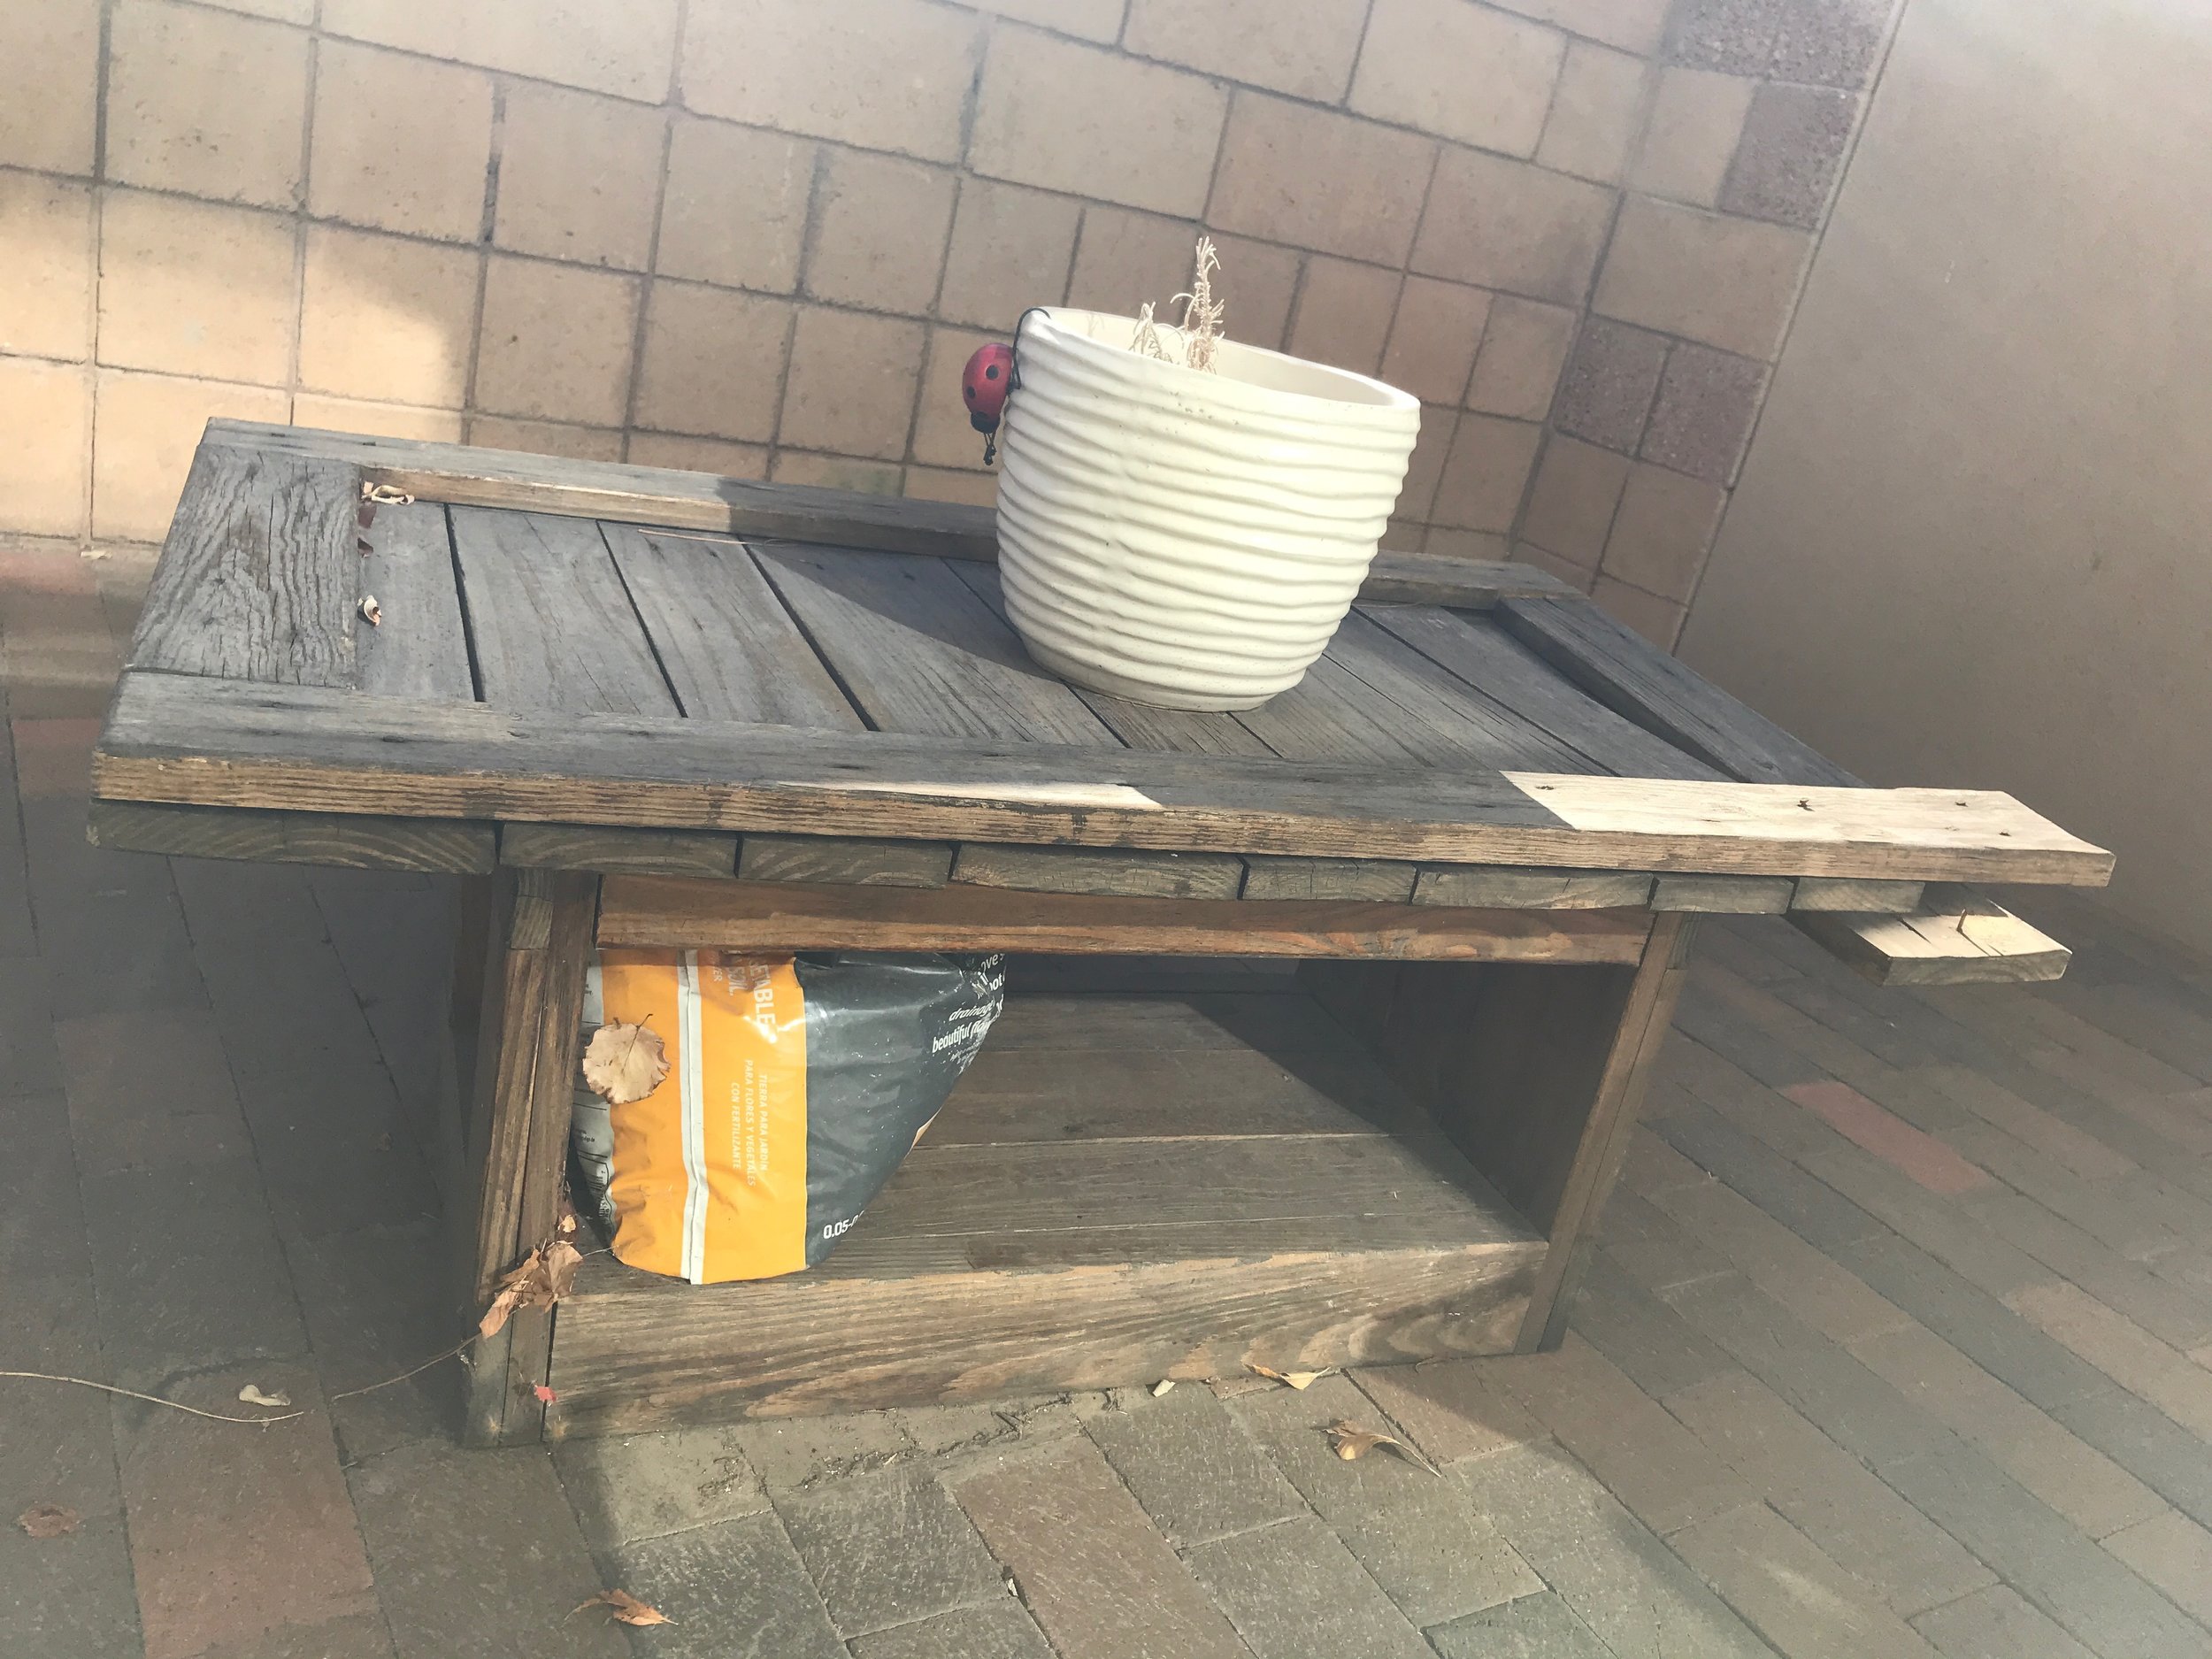
Coffee table when I got it.
Outside of the ugly looks, the table was surprisingly sturdy with the exception of the one side that needed a slight repair. I used some wood glue and clamps to pull the 2 pieces back together and lightly hammered the nails back into the boards. After letting the glue dry for a day, I took the clamps off and it was ready for painting. I then turned my attention to the chairs.

The chairs in the condition I got them in.

Dog food bag weighing down the bent slat.
Both chairs folded and unfolded just fine. And to another surprise they were very sturdy as well. One chair did need a little fixing. The chair had a slat that had been bent on the seat. It didn't affect the sturdiness of the seat but for aesthetic purposes, I wanted to straighten it out. I took a towel and wrapped it around the slat and then soaked it with hot water. I soaked the towel with hot water as much as I could over the next day making sure to keep the wood as wet as possible. The next day I removed the towel and laid the chair upside down on my work table. Using a scrap piece of 2 x 10 I laid it down over the slat. My little helper didn't like that I put his 40 lbs bag of dog food on top of the 2 x 10 to push and hold the slat in place while it dried. It's winter here, so it took a few days for it to dry but it's important to have patience and make sure the wood dries completly or the wood will go right back to where it was when you started. After a few days, I removed the bag of dog food and the slat was almost like the others, not perfect but a lot better. With the repairs done it was time for a good cleaning and then onto paint.
Dry Brushing


The Circuit cut out filigree stuck on the table top before I painted.
I loved the color of the weathered wood on all 3 pieces and didn't want to completely cover it up. Dry brushing is an easy way to accomplish the look I was going for. When dry brushing a piece you want to barely dip the brush into the paint and then lightly brush the paint on the piece. I choose an antique white for this project, it was a good color that would contrast with the darker weathered wood. Before I started painting, I took 4 pieces of filigree I had cut out on the Cricket and sprayed them with Elmers Craft Bond. I like using the Craft Bond because after you spray it on you have a few extra seconds which allows you to take your time to correctly place it on what you are working on. The best thing about Craft Bond is you have the ability to remove it without any damage to either piece or leaving any residue behind. With the filigree in place, it was time to start dry brushing. When the paint was dry I took a high grit sandpaper and lightly sanded the edges to add to the distressed and weathered look. Stencil time!!!
Stenciling

My store bought filigree stencil I used under "gather".
After the paint was dry I took the filigree off but I felt like something was missing. Since it is a table and chairs, I wanted to stencil a little something on there that reflected the purpose of the set, so I decided on the word ”gather”. I got online and googled images of the word ”gather” to find what I was looking for. Once I found what I wanted I printed it off and turned it into a stencil. For more info on how I do my stenciling read my blog How to Stencil. I then took some store bought filigree stencils and stenciled under ”gather”. I did this in the middle of both chairs and the table top. I took the outline of the filigree I used to dry brush over on the table top and added some black to tie everything all together.
Final Step

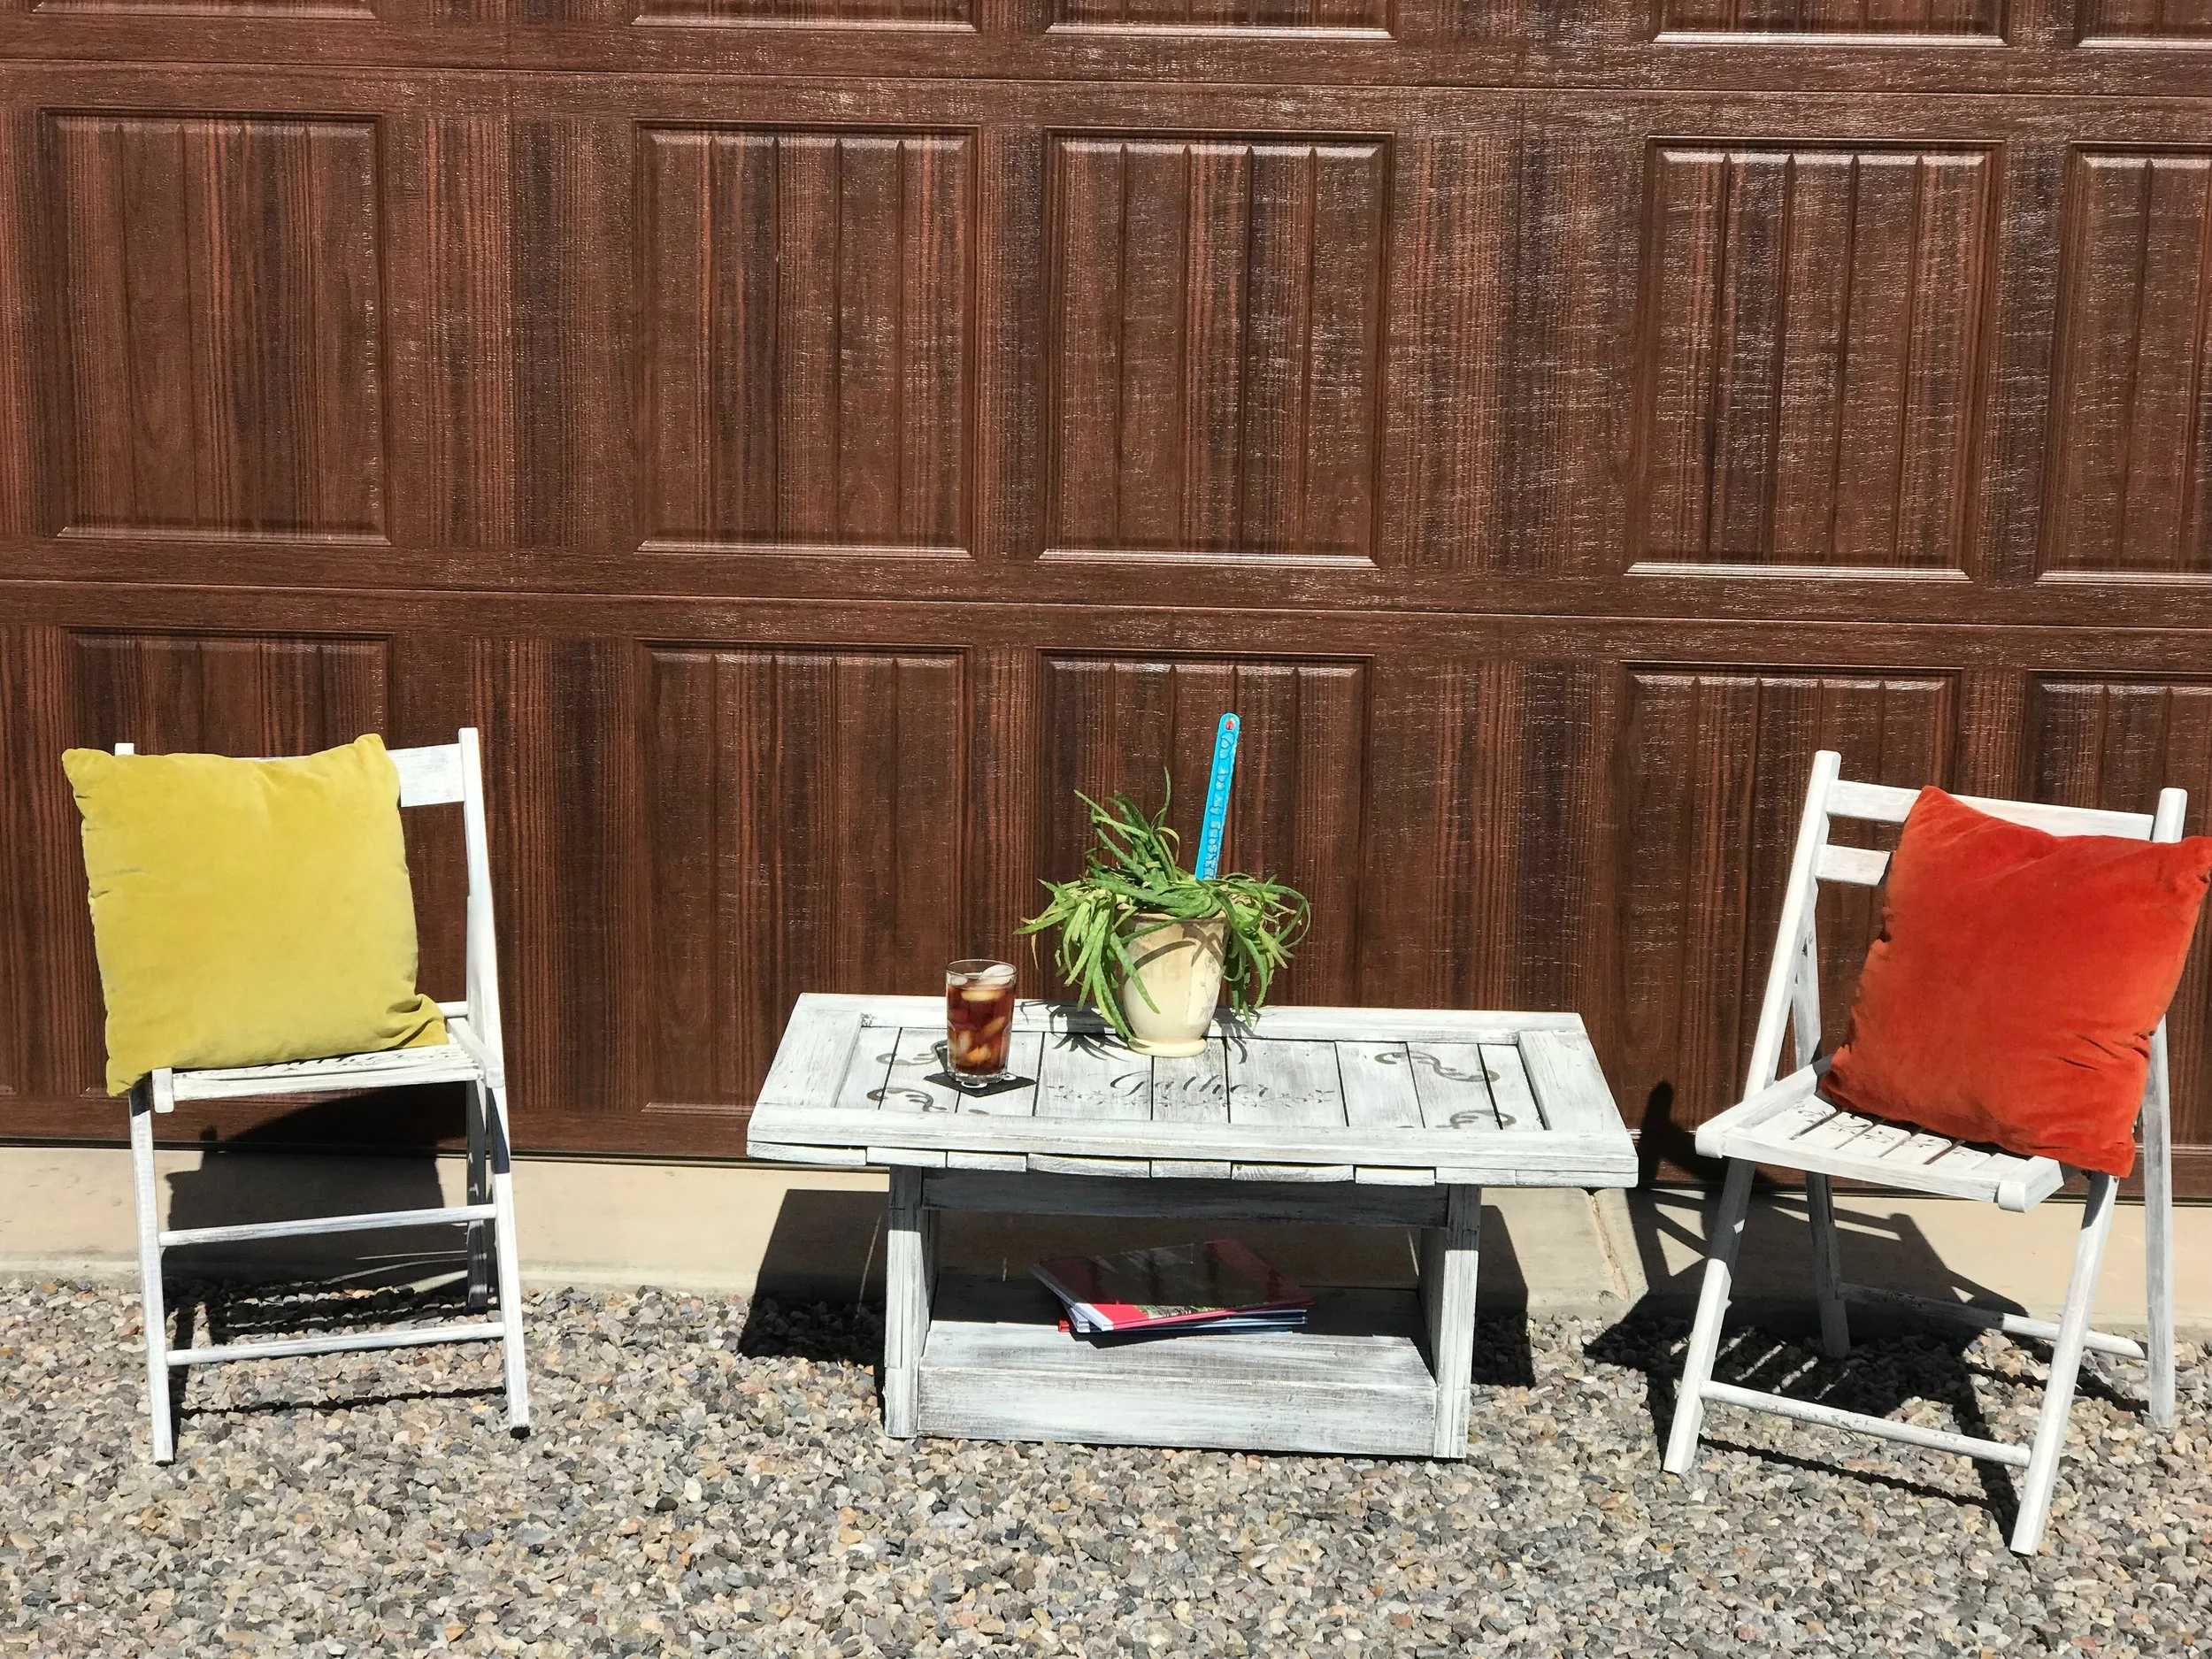
Patio set after all the stenciling was done.
When the stenciling was dry I applied 2 coats of Minwax Spar Urethane for added protection. This Patio set was then ready to hang out and enjoy a glass of ice tea in the warming early spring weather.
Hope this has inspired you to turn something ordinary into a special piece but if you don't have the time to make your own, contact me for a custom piece and let me bring you that A Rustic Rose you've been looking for.
Finished product!!!
Thank you for spending time with me and until next time....
Addie