
Headboard Bench
The headboard I used for this project has been around the block a few times. I got this unique headboard as a hand-me-down a long time ago, I believe I was in 7th grade. It has moved around with me through the typical 4 to 5 college moves and got a fast make over when it became my oldest daughter headboard 7 years ago. A year ago we moved into a new house and my daughter got a new bed frame and headboard. YEA!!!! It has been in our garage ever since leaning against the wall waiting for me to do something with it before my husband hauled it off to Goodwill. It was still in good shape so I decided it would be a excellent candidate for a bench, plus I was ready for a change.
(Please note that this post contains affiliate links, which means that when you buy any product /services using my link then I’ll earn a small commission at no EXTRA cost to you. Thank You!)
Supplies
- Latex Paint
- 2 - 2 x 4 x 8
- 1 - 2 x 12 x 8
- 1 - 2 x 3
- Minwax Spar Urethane
- Kreg Jig
Headboard with completed frame attached an painted.
Phase 1
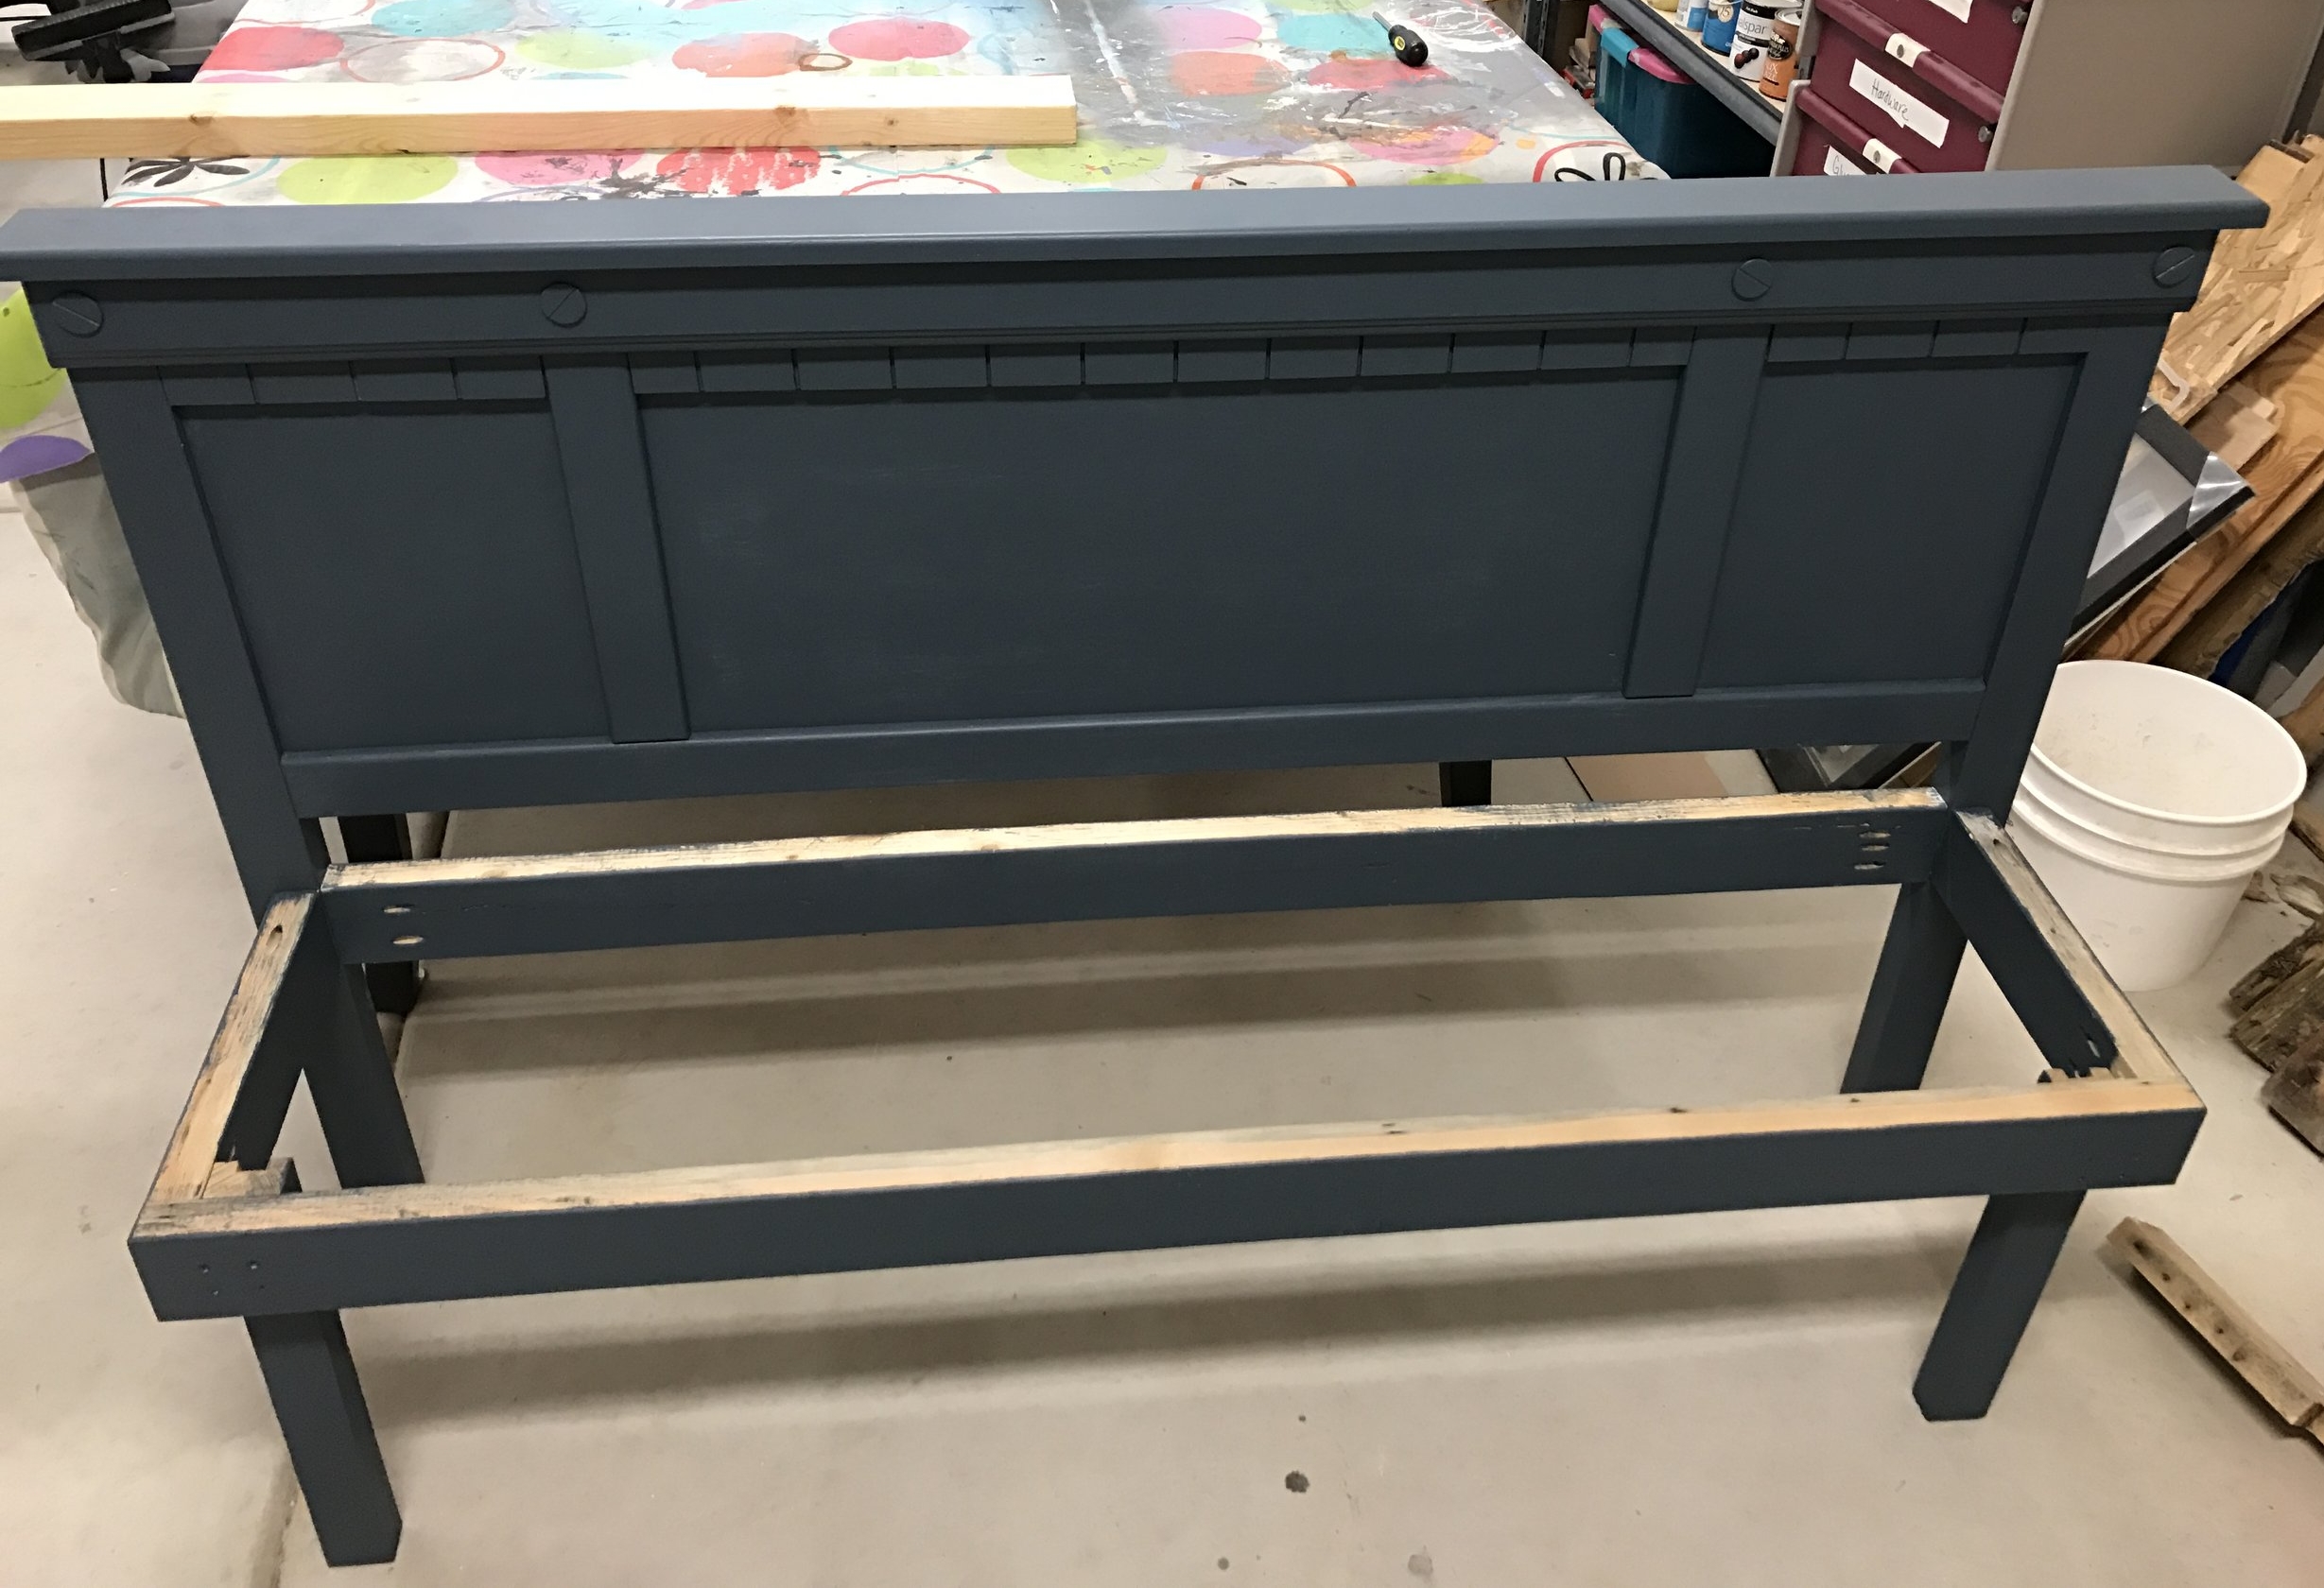
The first thing I did was sand it down lightly to roughen up the glossy finish from the previous paint job this helps the new paint stick better. After wiping the dust off the headboard it got a quick coat of primer. Once it was dried I set out to start working on the frame for the bench out of 2 x 4's. The first piece I cut was the back support that fit between the legs of the headboard. Then I figured out how deep I wanted the bench seat to be, don't forget to account for the width of the 2 x 4 that will be going across the front. Once I figured out the depth, I cut 2 pieces to length and attached them to the legs of the headboard. I then measured, cut, and attached the front support. We used some scrap pieces of wood for the front legs and attached them inside the front corners of the frame.

Seat completed and ready to be stained.
Phase 2
It was then time to work on the seat. To make the seat I used 2 x 12 pieces that I had laying around with a 2 x 4 on each end cut in a L shape to fit around the legs of the headboard. I wanted the back of the seat to be flush with the back brace of the frame and the front of the seat to over hang the front support by 2 inches. This is what felt comfortable to me when I sat on the bench, but you can adjust the seat depth to whatever feels comfortable to you. Thats the best part about making your own furniture! After all the pieces were cut I screwed and glue them together. I then lightly sanded the edges and top to make it smooth. Now it's time for my favorite part. Paint!!!
I love the look of paint and stain when combined on a piece. Every time I'm in Lowe's, I enjoy looking through the "oops" shelf to see if there is a color I'd use on a future project. That is where the color for the bench and frame came from on this project. I'm not one to just leave a paint job plain. I usually end up antiquing it one way or another. I tried to lightly sand the edges and wasn't feeling the look so after a quick touch up of paint I decided to add a brown glaze to the headboard and frame. With the headboard and frame done It was then time to stain the seat. I had some Dark Walnut Minwax Stain laying around form other projects and it was the perfect color to go with the glaze.

Seat and bench clear coated with Spar Urethane.
Phase 3
Once the headboard, frame, and seat was dry, it was time to screw the seat onto the frame. Then I added a clear coat to protect the finish from the sun and other elements outside. I usually finish all my projects with Minwax's Polycrylic but it's probably not the best finish for the elements outside, it could chip and flake off. I turned to another Minwax product again and used Spar Urethane to seal the bench and make it last outside.
This headboard transformed into a bench is now ready to enjoy for many years to come. Hope this has inspired you to turn something ordinary into a special piece but if you don't have the time to make your own, contact me for a custom piece and let me bring you that A Rustic Rose you've been looking for.

Finished product ready to enjoy!
Thank you for spending time with me and until next time....
Addie
Revised May 11, 2018