
Welcome Sign
I was really excited to get this project started. It's a simple one but has been on my to-do list for a while. I started by going to Lowe's and picking out 3 wooden fence pickets. You have to take a few minutes to look through them and pick out ones that are as straight as possible.
(Please note that this post contains affiliate links, which means that when you buy any product /services using my link then I’ll earn a small commission at no EXTRA cost to you. Thank You!)
Supplies
- 3 Fence Pickets
- 10 inch Brace Pieces (2 - 4)
- Minwax Stain (Classic Grey)
- Antique White Latex Paint
- Stencils
- Teal Paint
- Decorative Hinges

Fence pickets clamped and screwed together with the braces.
When the time came to put the sign together, I laid them out and clamped them together. When I had bought the pickets they were a little wet from a rain storm we had earlier that day. As they dried one developed a nice curve to it that wasn't there when I bought it. I had to clamp them together in several different places to pull the curved one as straight as possible. It didn't straighten out all the way but that's ok because I don't mind there being some gaps in between boards in spots. Once I had the 3 pieces clamped together I used some scrap wood I had in the garage as braces on the back of the sign to hold it together. I glued and screwed them into each picket to hold everything in tight. I usually only use 2 or 3 braces but since my one picket was really curved I used 4 on this sign.

Fence pickets stained with the Classic Grey Stain.
It was then time to design the sign. I decided to stain the pickets with some leftover stain I had from another project and then dry brush it with cream paint. After the sign dried, it was time to stencil on "WELCOME". I lined the stencils up in the center of the sign and spaced them out. I taped them down so they wouldn't move on me and using a stencil brush painted in the stencils. Once the letters had dried it is time to apply a couple coats of Minwax's Spar Urethane to protect it from the elements and then put on your embellishments. For this sign I used 6 inch hinges I found at Walmart, of all places!
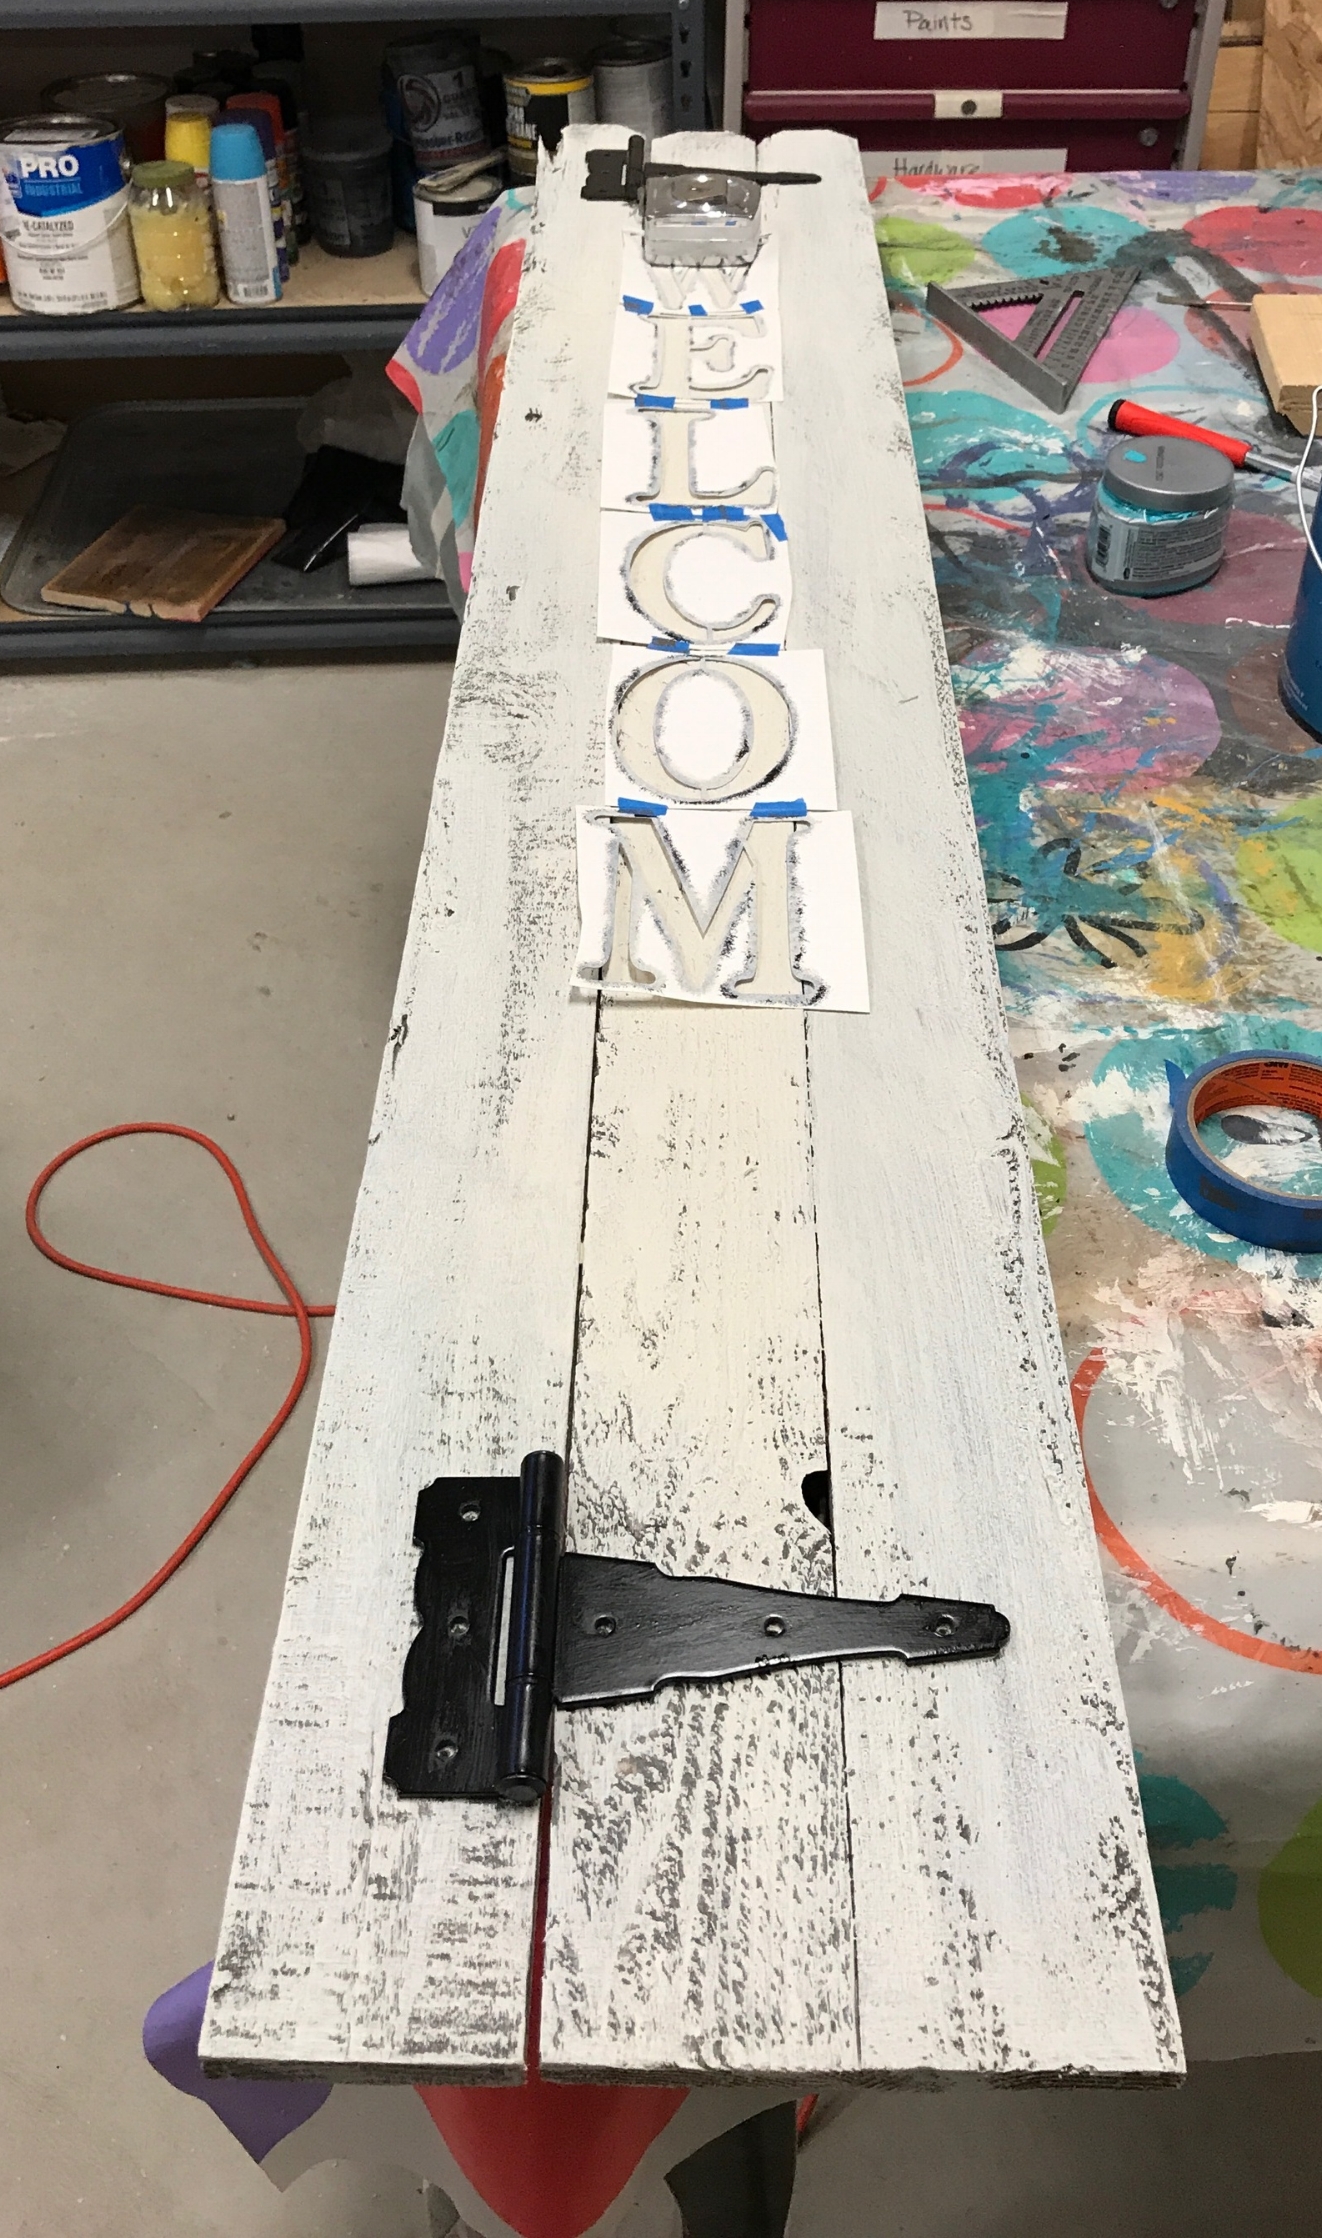
Laying out the stencils and the hinges.
Its now ready to greet guests. Hope this has inspired you to build your own special piece but if you don't have the time to make your own, contact me for a custom piece and let me bring you that A Rustic Rose you've been looking for.

Finished sign!
Thank you for spending time with me and until next time....
Addie