
Sandwich Sign
It’s wedding season! I'm sure you're probably thinking what does that have to do with furniture. Glad you asked because last year I made these awesome sandwich signs for a rehearsal dinner and thought it was a good time to share the adventure! Here we go!!
(Please note that this post contains affiliate links, which means that when you buy any product /services using my link then I’ll earn a small commission at no EXTRA cost to you. Thank You!)
Supplies
- 1x2’s
- Kreg Jig
- 1/4” Pine Plywood Sheets
- White Latex Paint
- Blue Latex Paint
- Green Latex Paint
- Cricut
- Hinges
- Rope
- Drill
Step One: Cutting and Putting the Signs Together
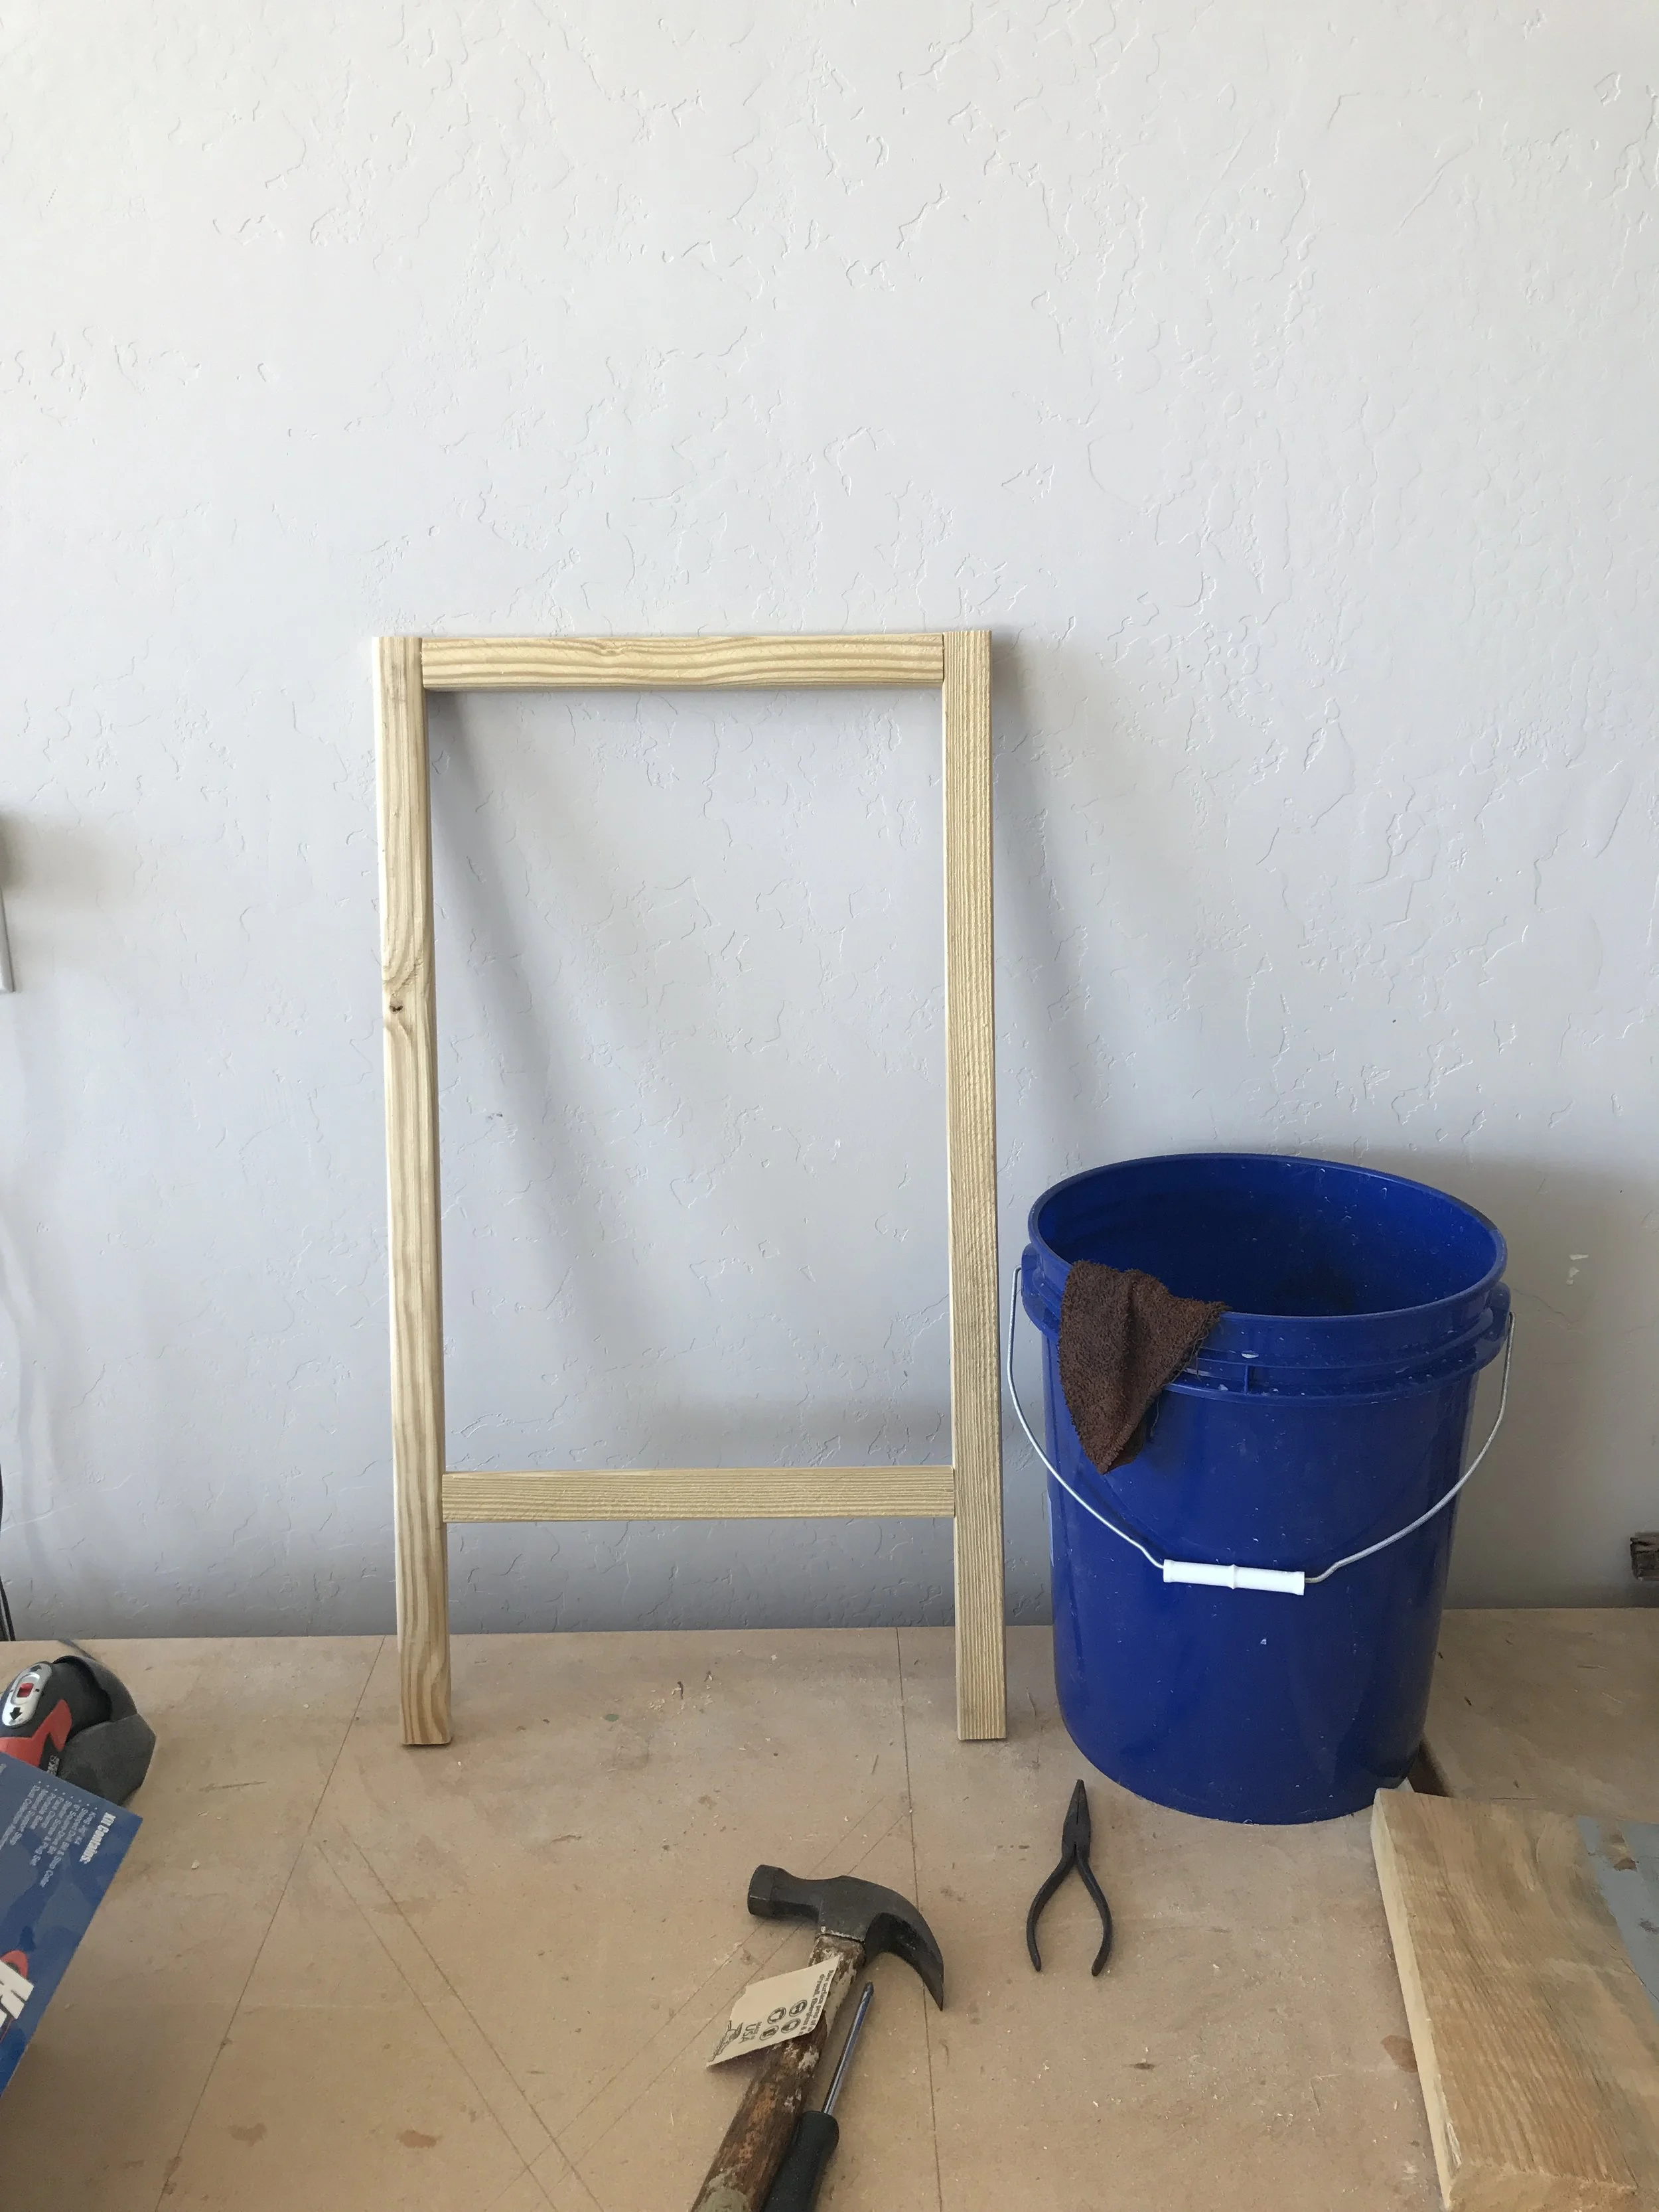
A finished frame.
The first thing I did was cut the 1 x 2’s to the 2 different sizes. I cut 4 pieces 24 inches long for the top and bottom of the 2 frames and another 4 pieces 46 inches long for the sides of the 2 frames and the legs. With the pieces cut, it was time to assemble the frames. Using the Kreg Jig, I drilled pocket holes into the 4 top and bottom pieces. I then screwed and glued one top piece with a side piece together. I repeated the process for the other top corner. For the bottom piece I measured up 11 1/2 inches on both pieces and made a mark, I placed the bottom of the bottom piece at the marks and screwed it into place. I then repeated the same process to complete the other sign. With the frames done it was time to cut the plywood to size.
Step Two: Cutting the Plywood
Using a skill saw, I cut the plywood sheet into 2 - 27" x 39" pieces to make our sign inserts. Thats the easiest step I think I've had yet! Onto painting!
Step Three: Painting
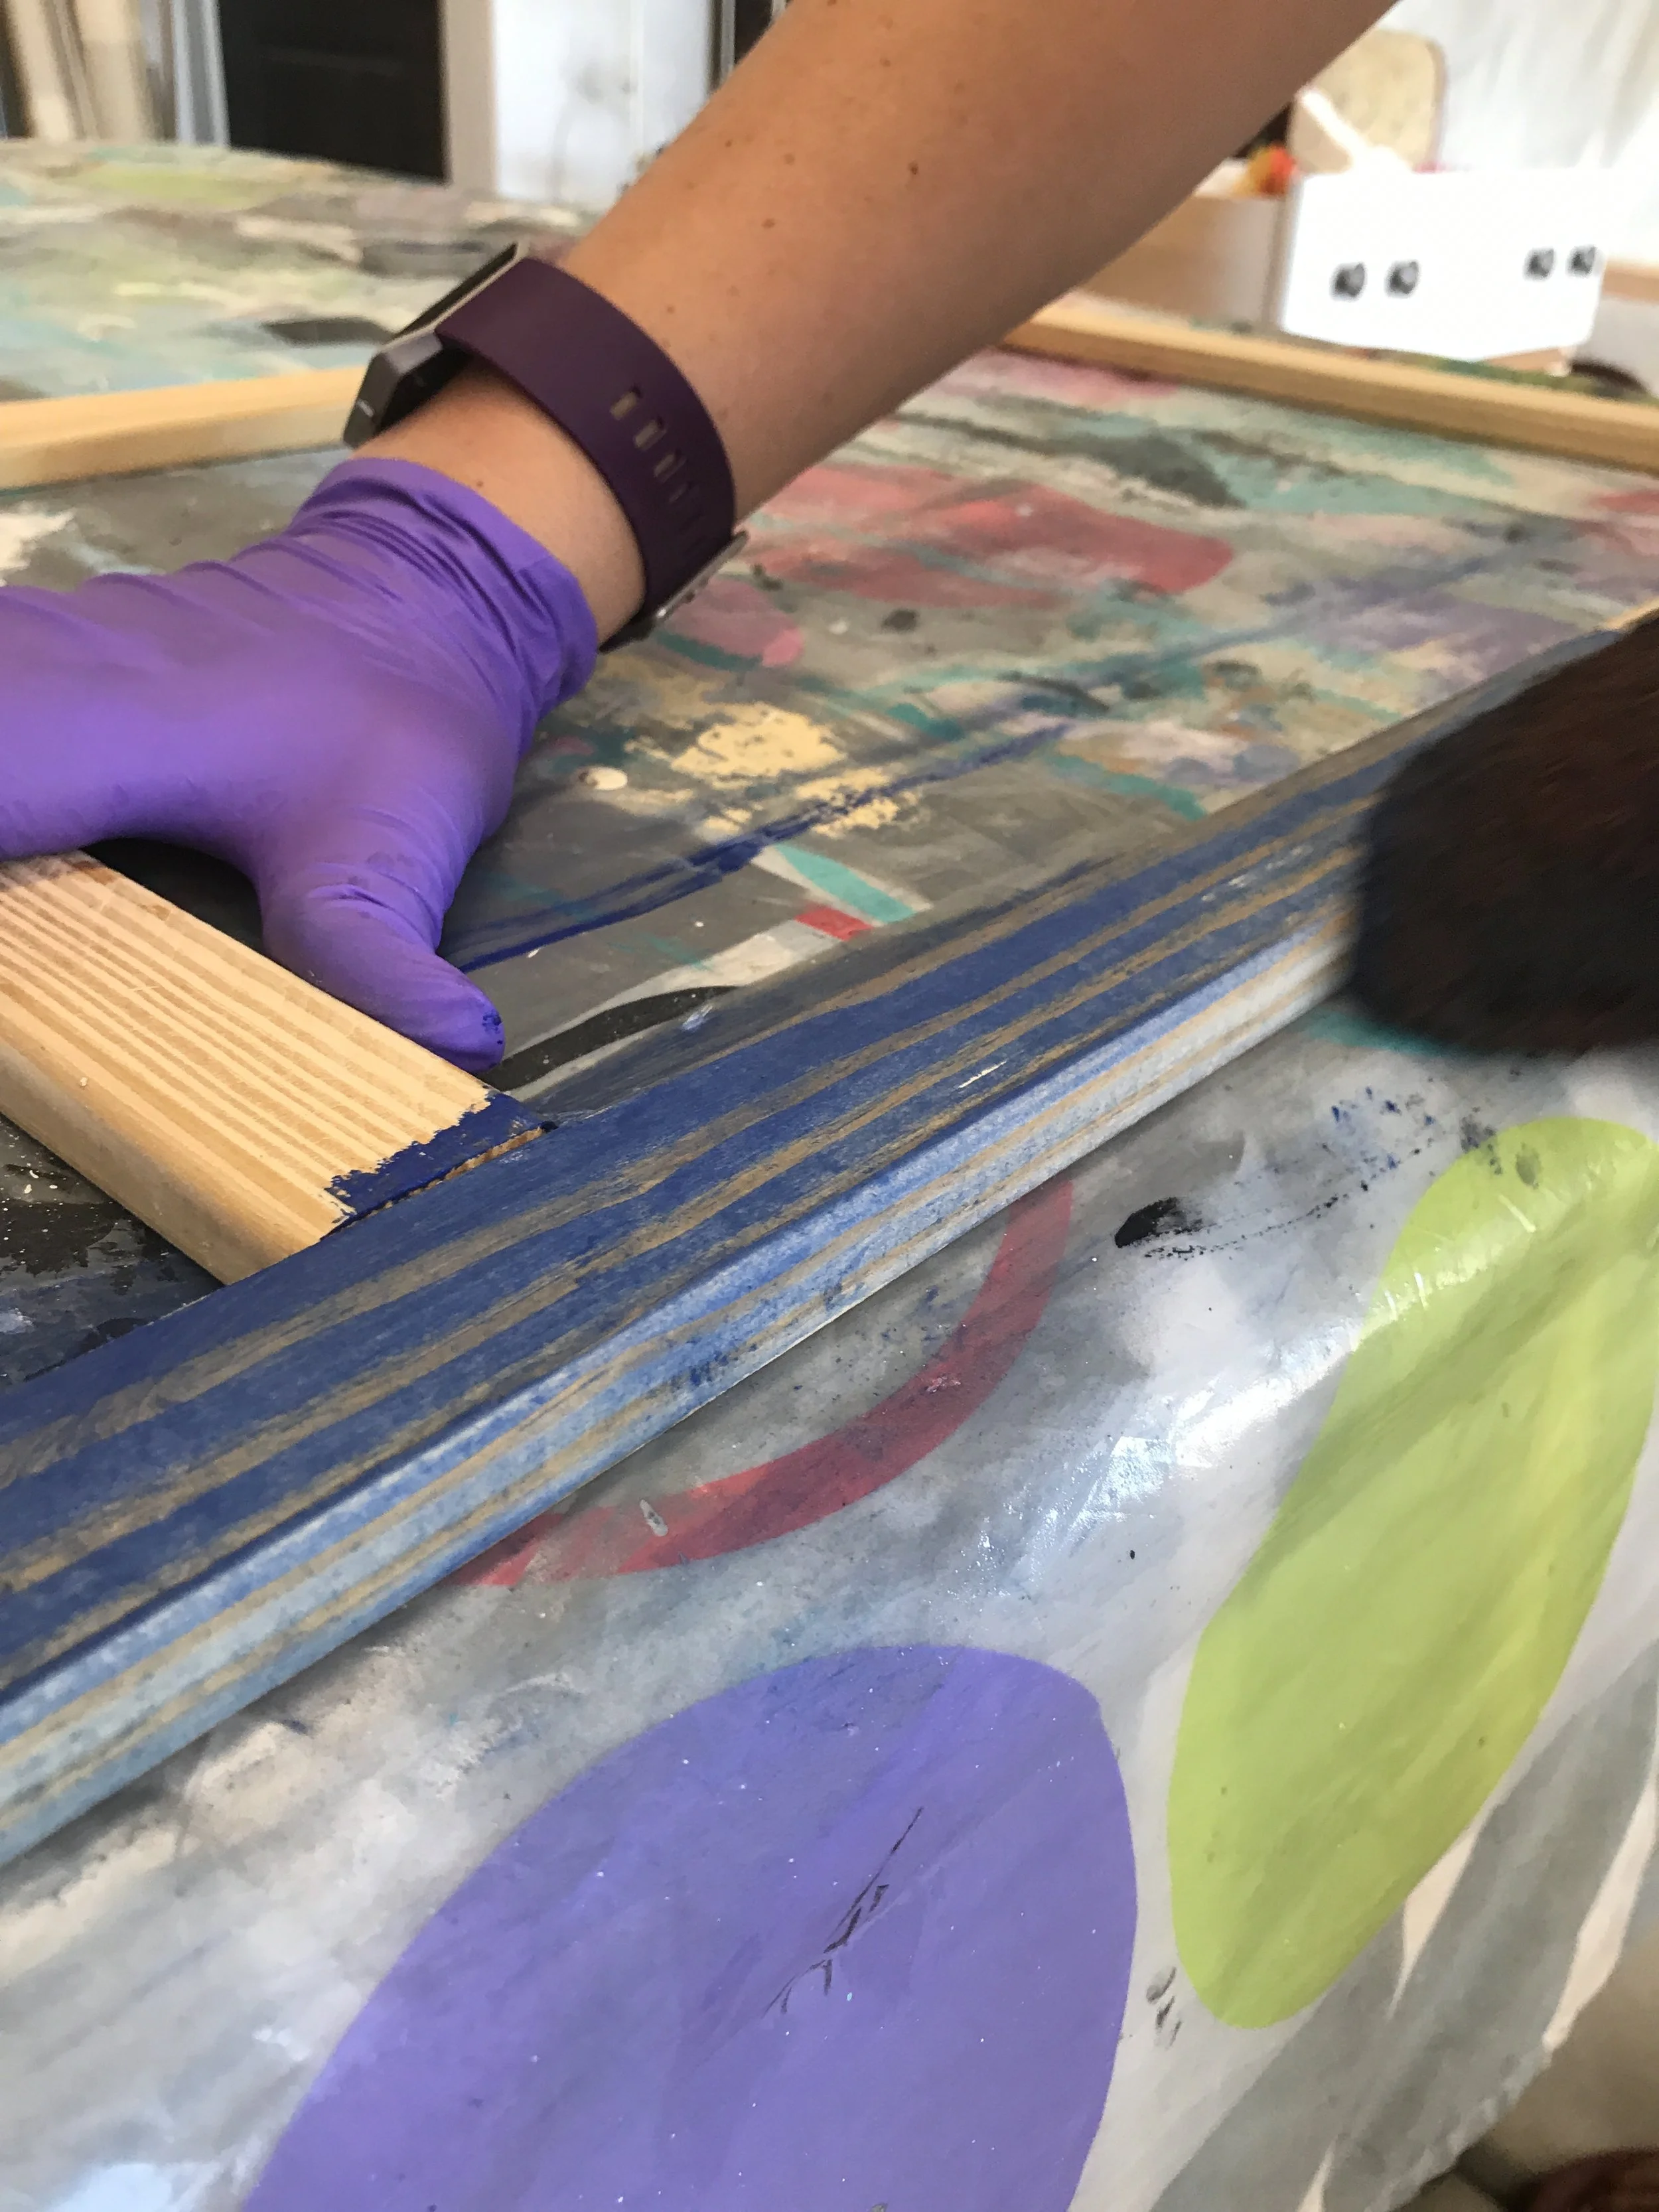
The blue wash.
I wanted the layered look, of course, so for the base layer I did a wash technique. One I use on a lot of projects. Its very similar to staining wood but you're using paint. Using a damp washcloth, dip it into the paint, I chose blue for this project, and then wipe it onto the wood. The wetter the wash cloth the lighter the color will be. After the wash dried, I used a white latex paint and painted the frame and the sign inserts, making sure to cover all the edges and both the front and back. Once everything was dry I lightly sanded the frames to allow some of the blue and the wood to show though the white paint. With the distressing done on the frames, I put them aside and turned my attention to the sign inserts.
Step Four: Creating the Sign
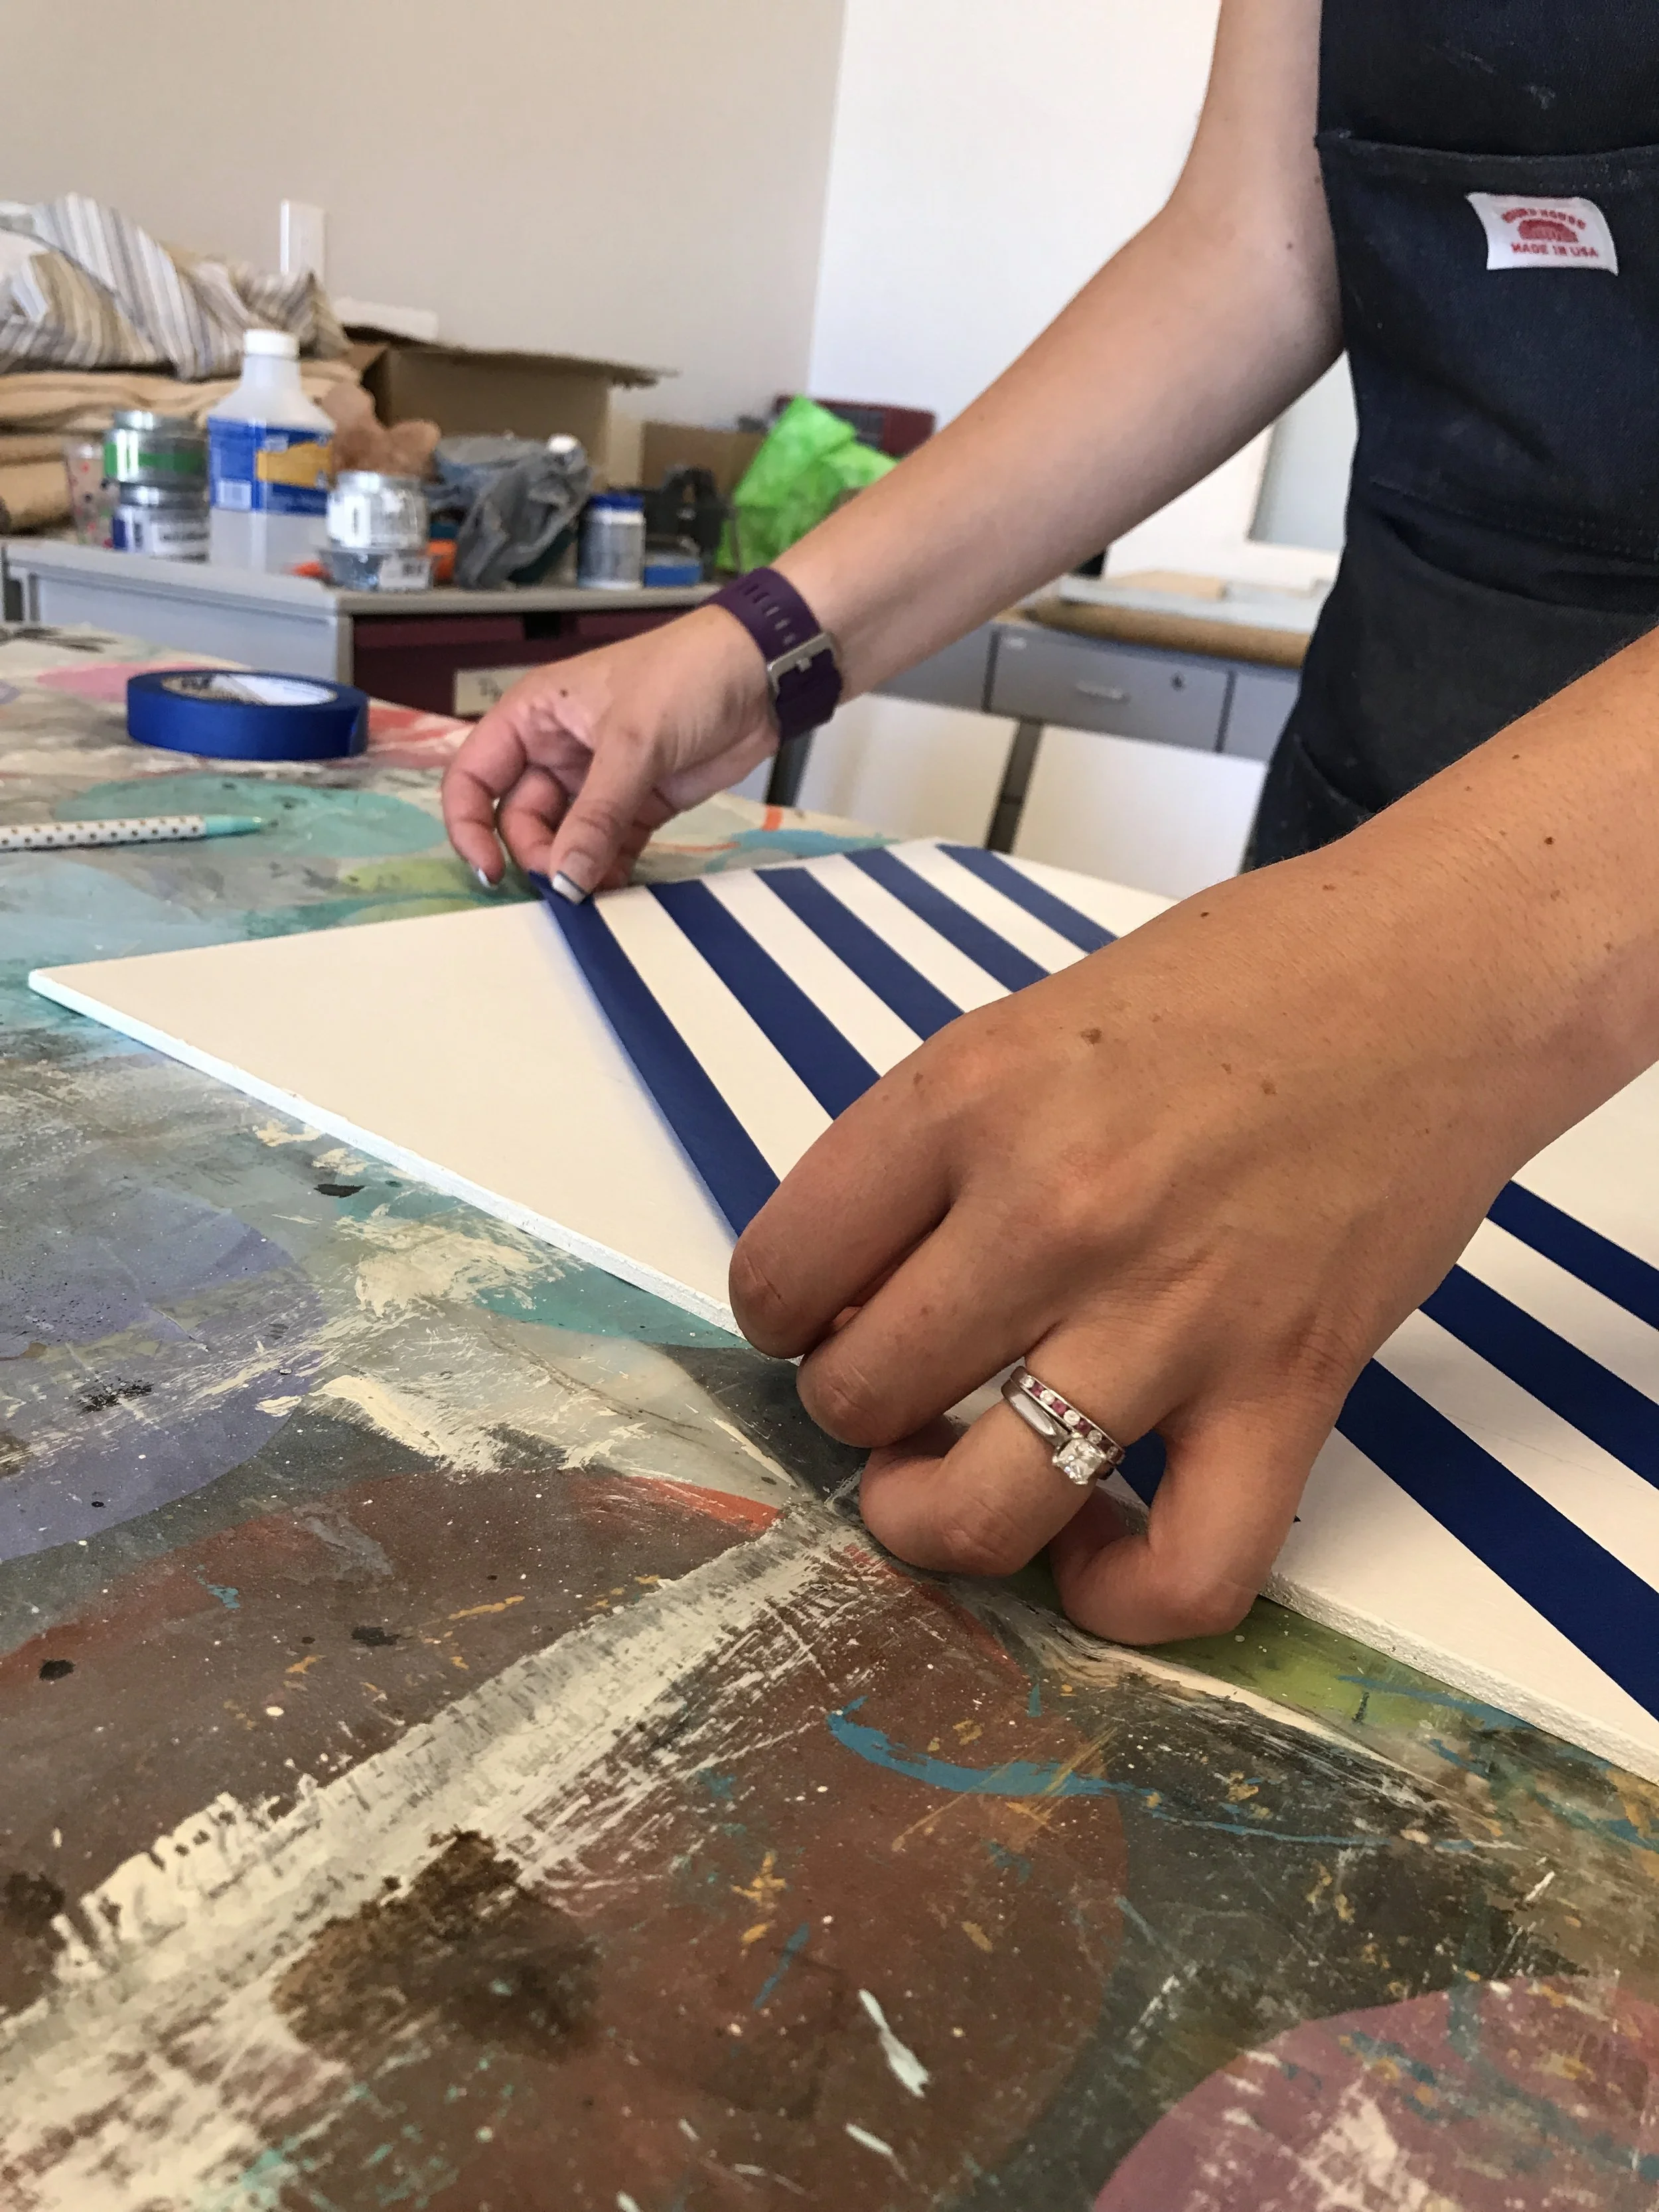
Laying the tape out for the blue and white striped frame.

The sign insert in the frame.
This process was a ton of fun but very tedious. The rehearsal dinner was at a beach and the signs needed to be nautical themed. The invitations and dinner location was where I got my inspiration for what the sign would look like. To start I lightly traced out where the frame would cover the sign insert so I know how far to paint. Using painters tape I created a boarder a few inches thick that was blue and white striped, the blue was the same blue that I used to wash the frames with. To complete the frame, I painted a thin strip of green all the way around the inside of the blue and white stripes. Now it is time to attach the sign insert to the frame. This is a pretty easy process. First lay the frame on a flat surface and then lay the sign insert facedown on top of the frame. Pay attention to make sure the edges are all lined up and then zip it in place with 1/2 inch screws. Now its time to add the rest of the details to the sign.
Step Five: Cricket Cutting

Laying the paper cutouts out to figure out what size to cut the vinyl.
For the rest of the sign I put the brush down and turned to the Cricut and sticky vinyl. Before I cut out the vinyl I cut everything out on paper and lay it out on the sign to get a good idea on size and placement. The vinyl is pricy so cutting out paper first can help cutdown on unnecessary waste. When I figured out what sizes I wanted everything, I cut it all out on the vinyl. The vinyl is like a sticker which makes it easy to just peal and stick. I lined it all out first before I started peeling and sticking to get the right placement. With the sign inserts complete, its onto the final assembly of the sandwich signs.
Step six: Assembly
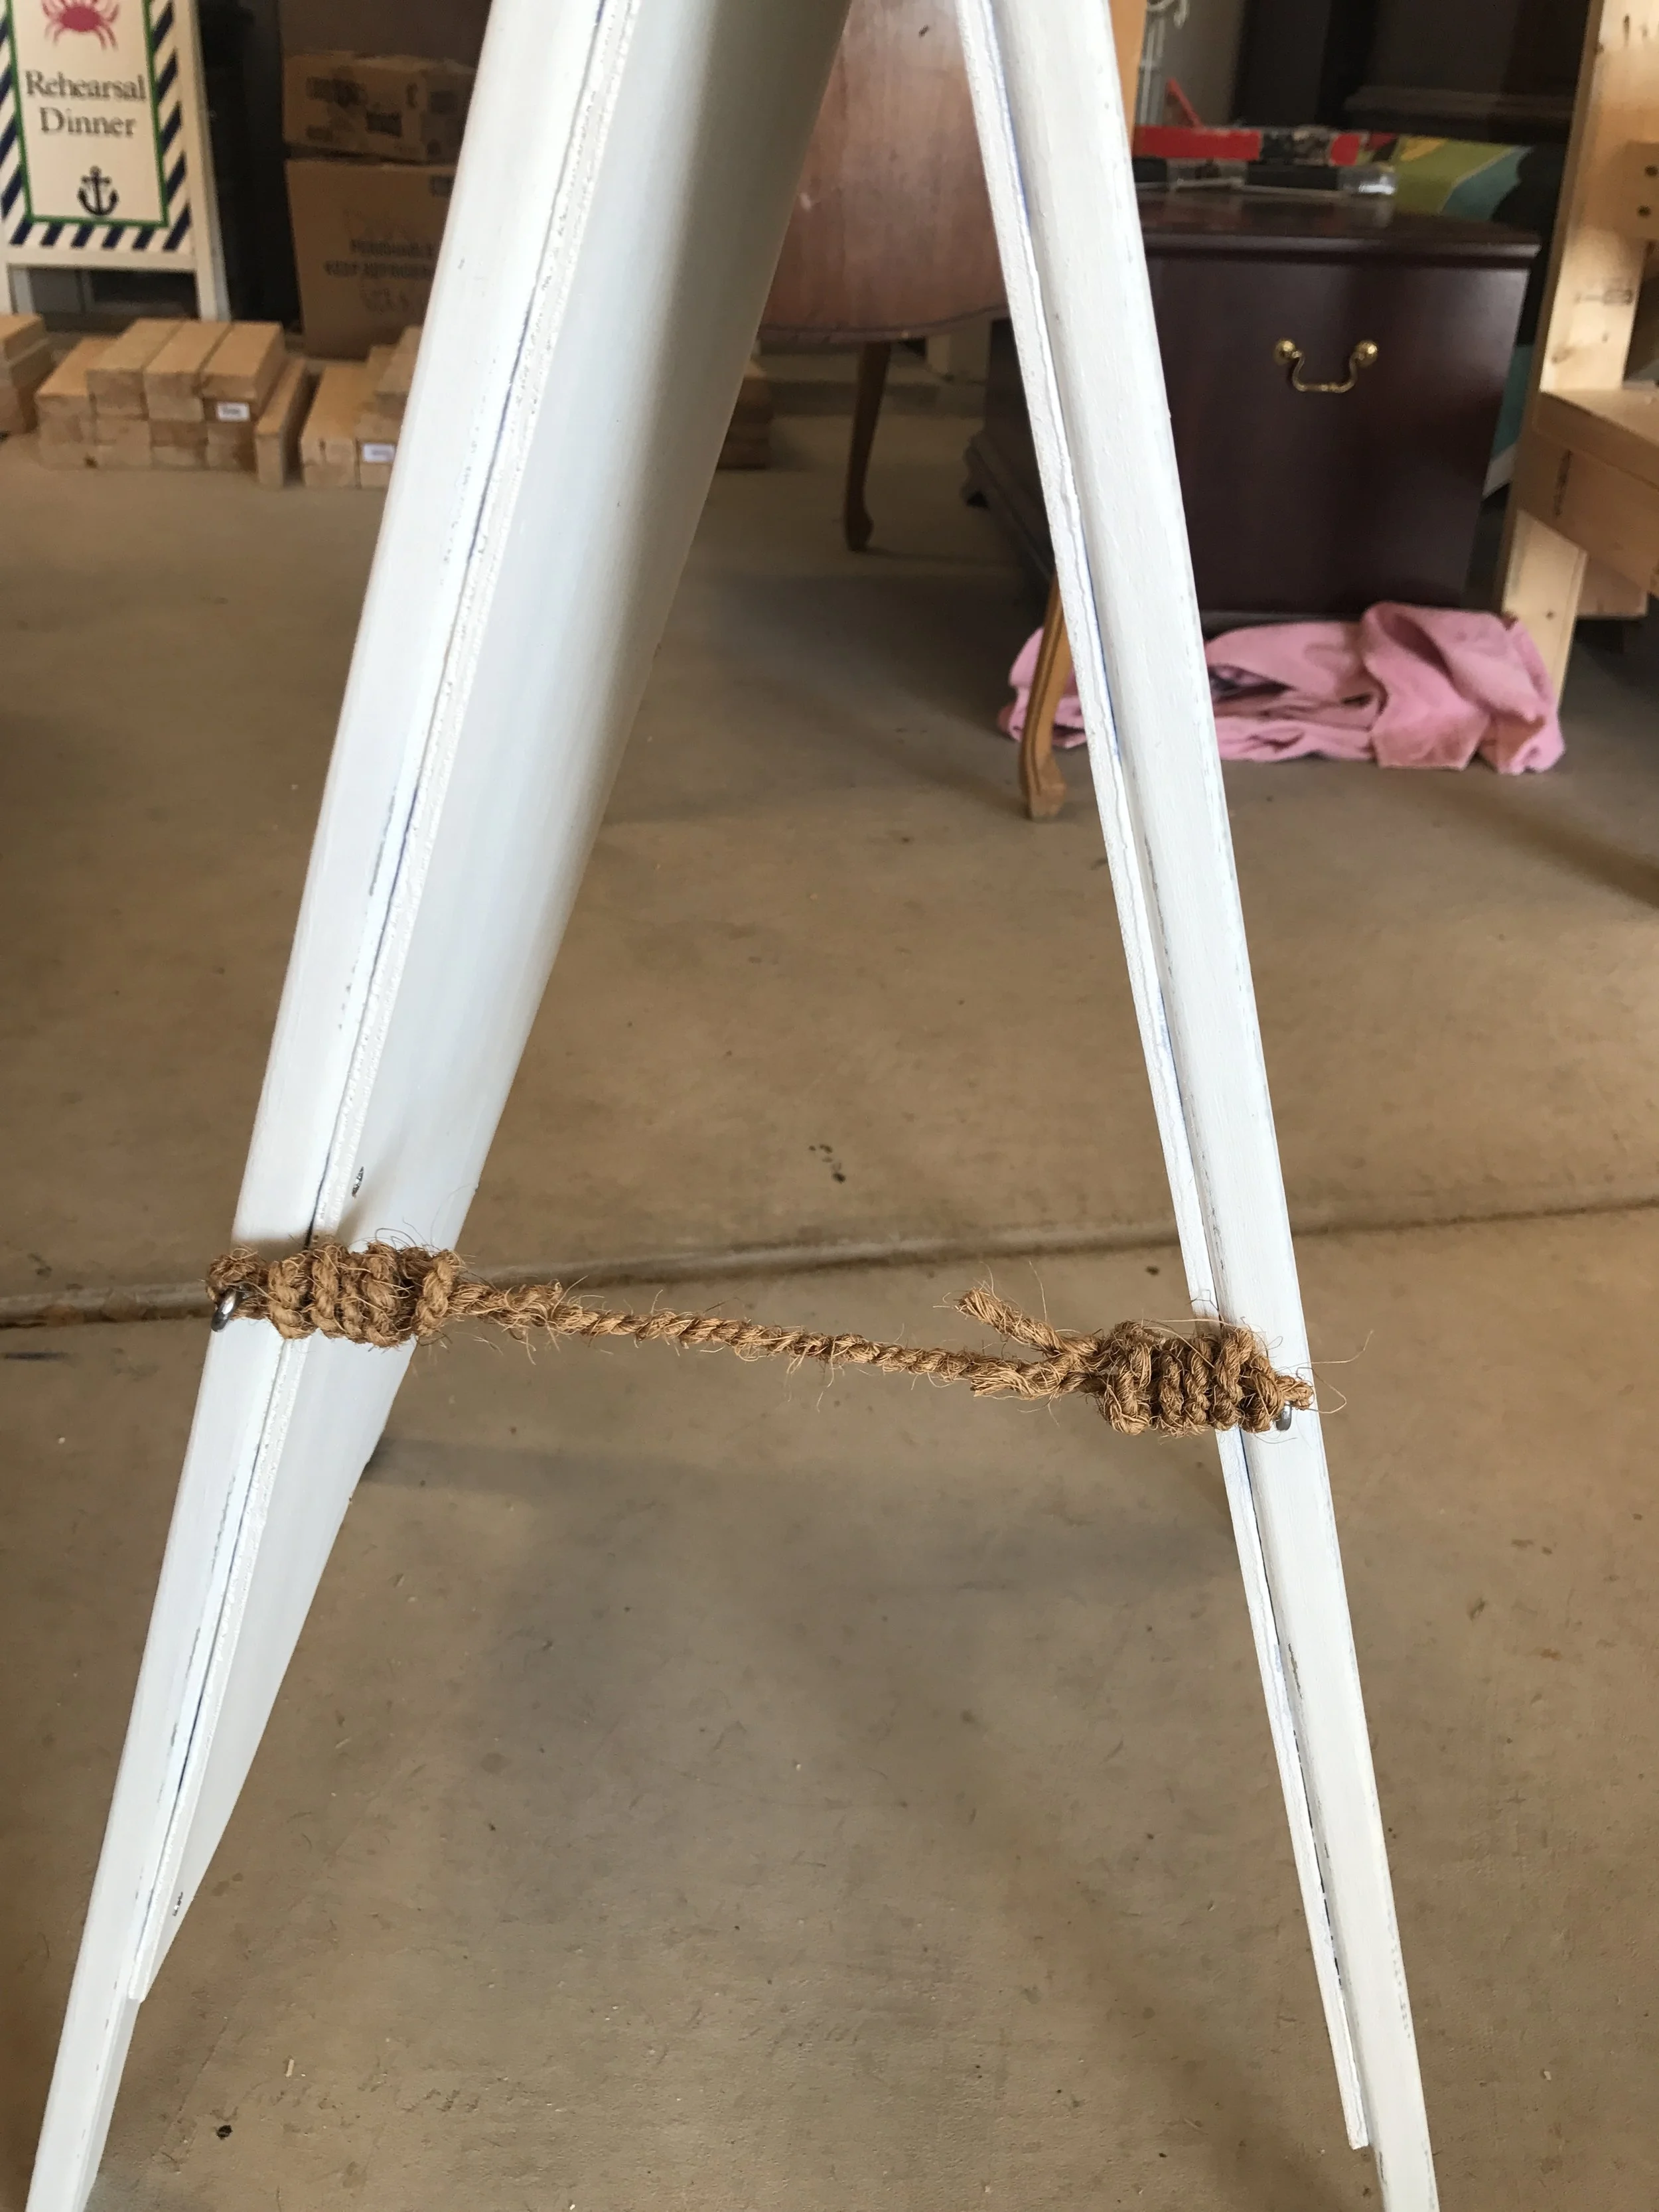
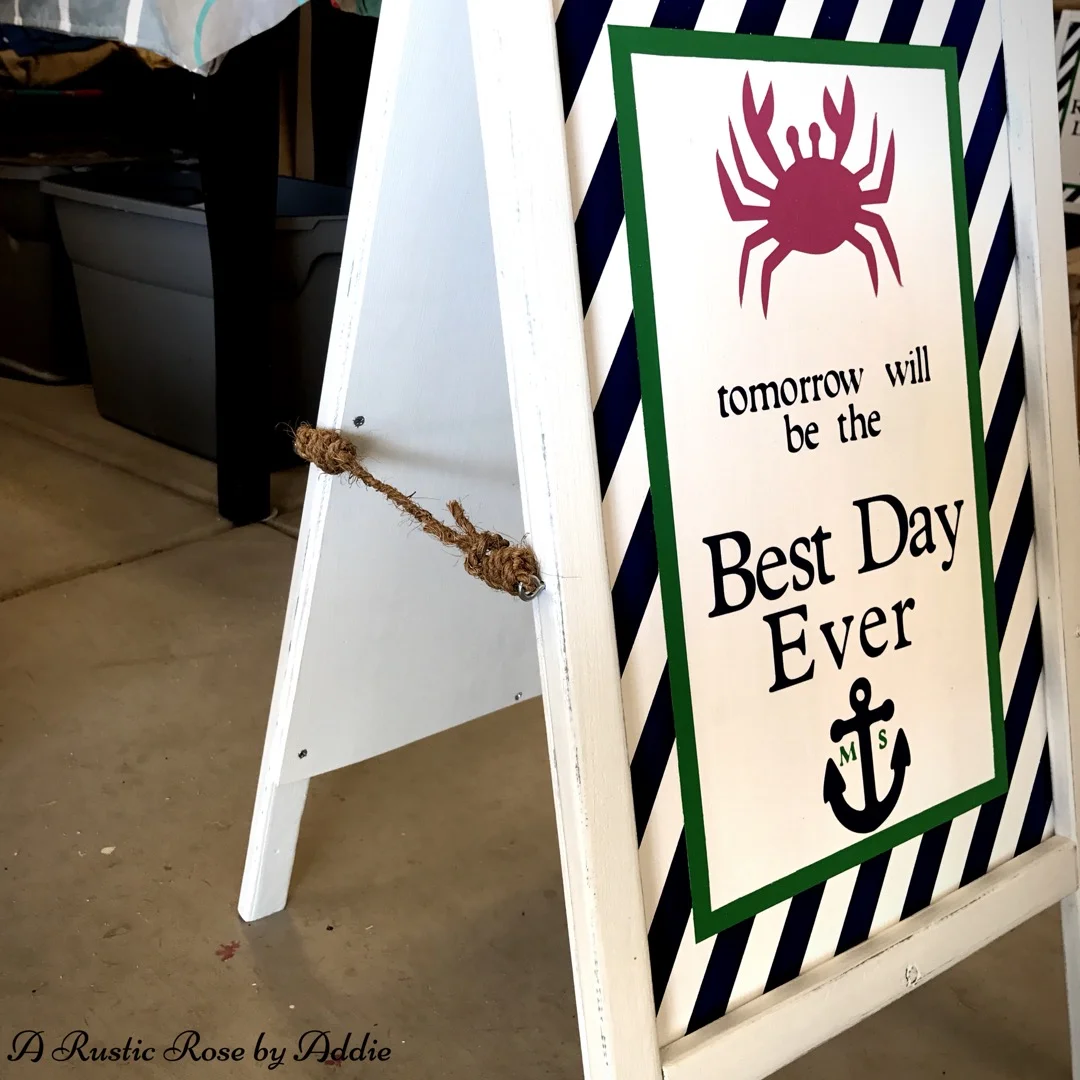
The eye hooks in and the rope tied on.
Next was the hinges, I laid the two signs face down, top to top and placed the hinges about and inch from the edge and screwed them into place. Then I measured up the outside of the legs 20 inches and made a mark. I predrilled holes and screwed in the eye hooks. I found some rope that reminded me of rope from a boat and tied the rope onto the eye hooks. Keeping in mind that both side need to be about the same length.
With that the sandwich signs are now complete! Hope I've inspired you to create something spectacular but if you don't have the time to make your own, contact me for a custom piece and let me bring you that A Rustic Rose you've been looking for.
Thank you for spending time with me and until next time....
Addie