
"Guest Book" Sign
Wedding season!! Its that time of year. Not sure about you guys but we have 3 weddings this summer, all in a week of one another. Crazy!! I am so excited to share this blog with you today. This "Guest Book" Sign is a new twist on an old tradition. Anyone that has gotten married has had some type of sign in book for guests which, if like mine, ends up in a box in the garage or closet, and never seen again. This "Guest Book" Sign is a great way keep the memory of that special day and all the special people that shared it with you where you can see it all the time.
I started with 2 1x6x6's cut in half to make 4 3ft pieces. While I was cutting I also cut the 2 braces for the back of the sign from 1x2 scraps I had in the garage. I always save my larger scraps because they come in handy for these types of projects.
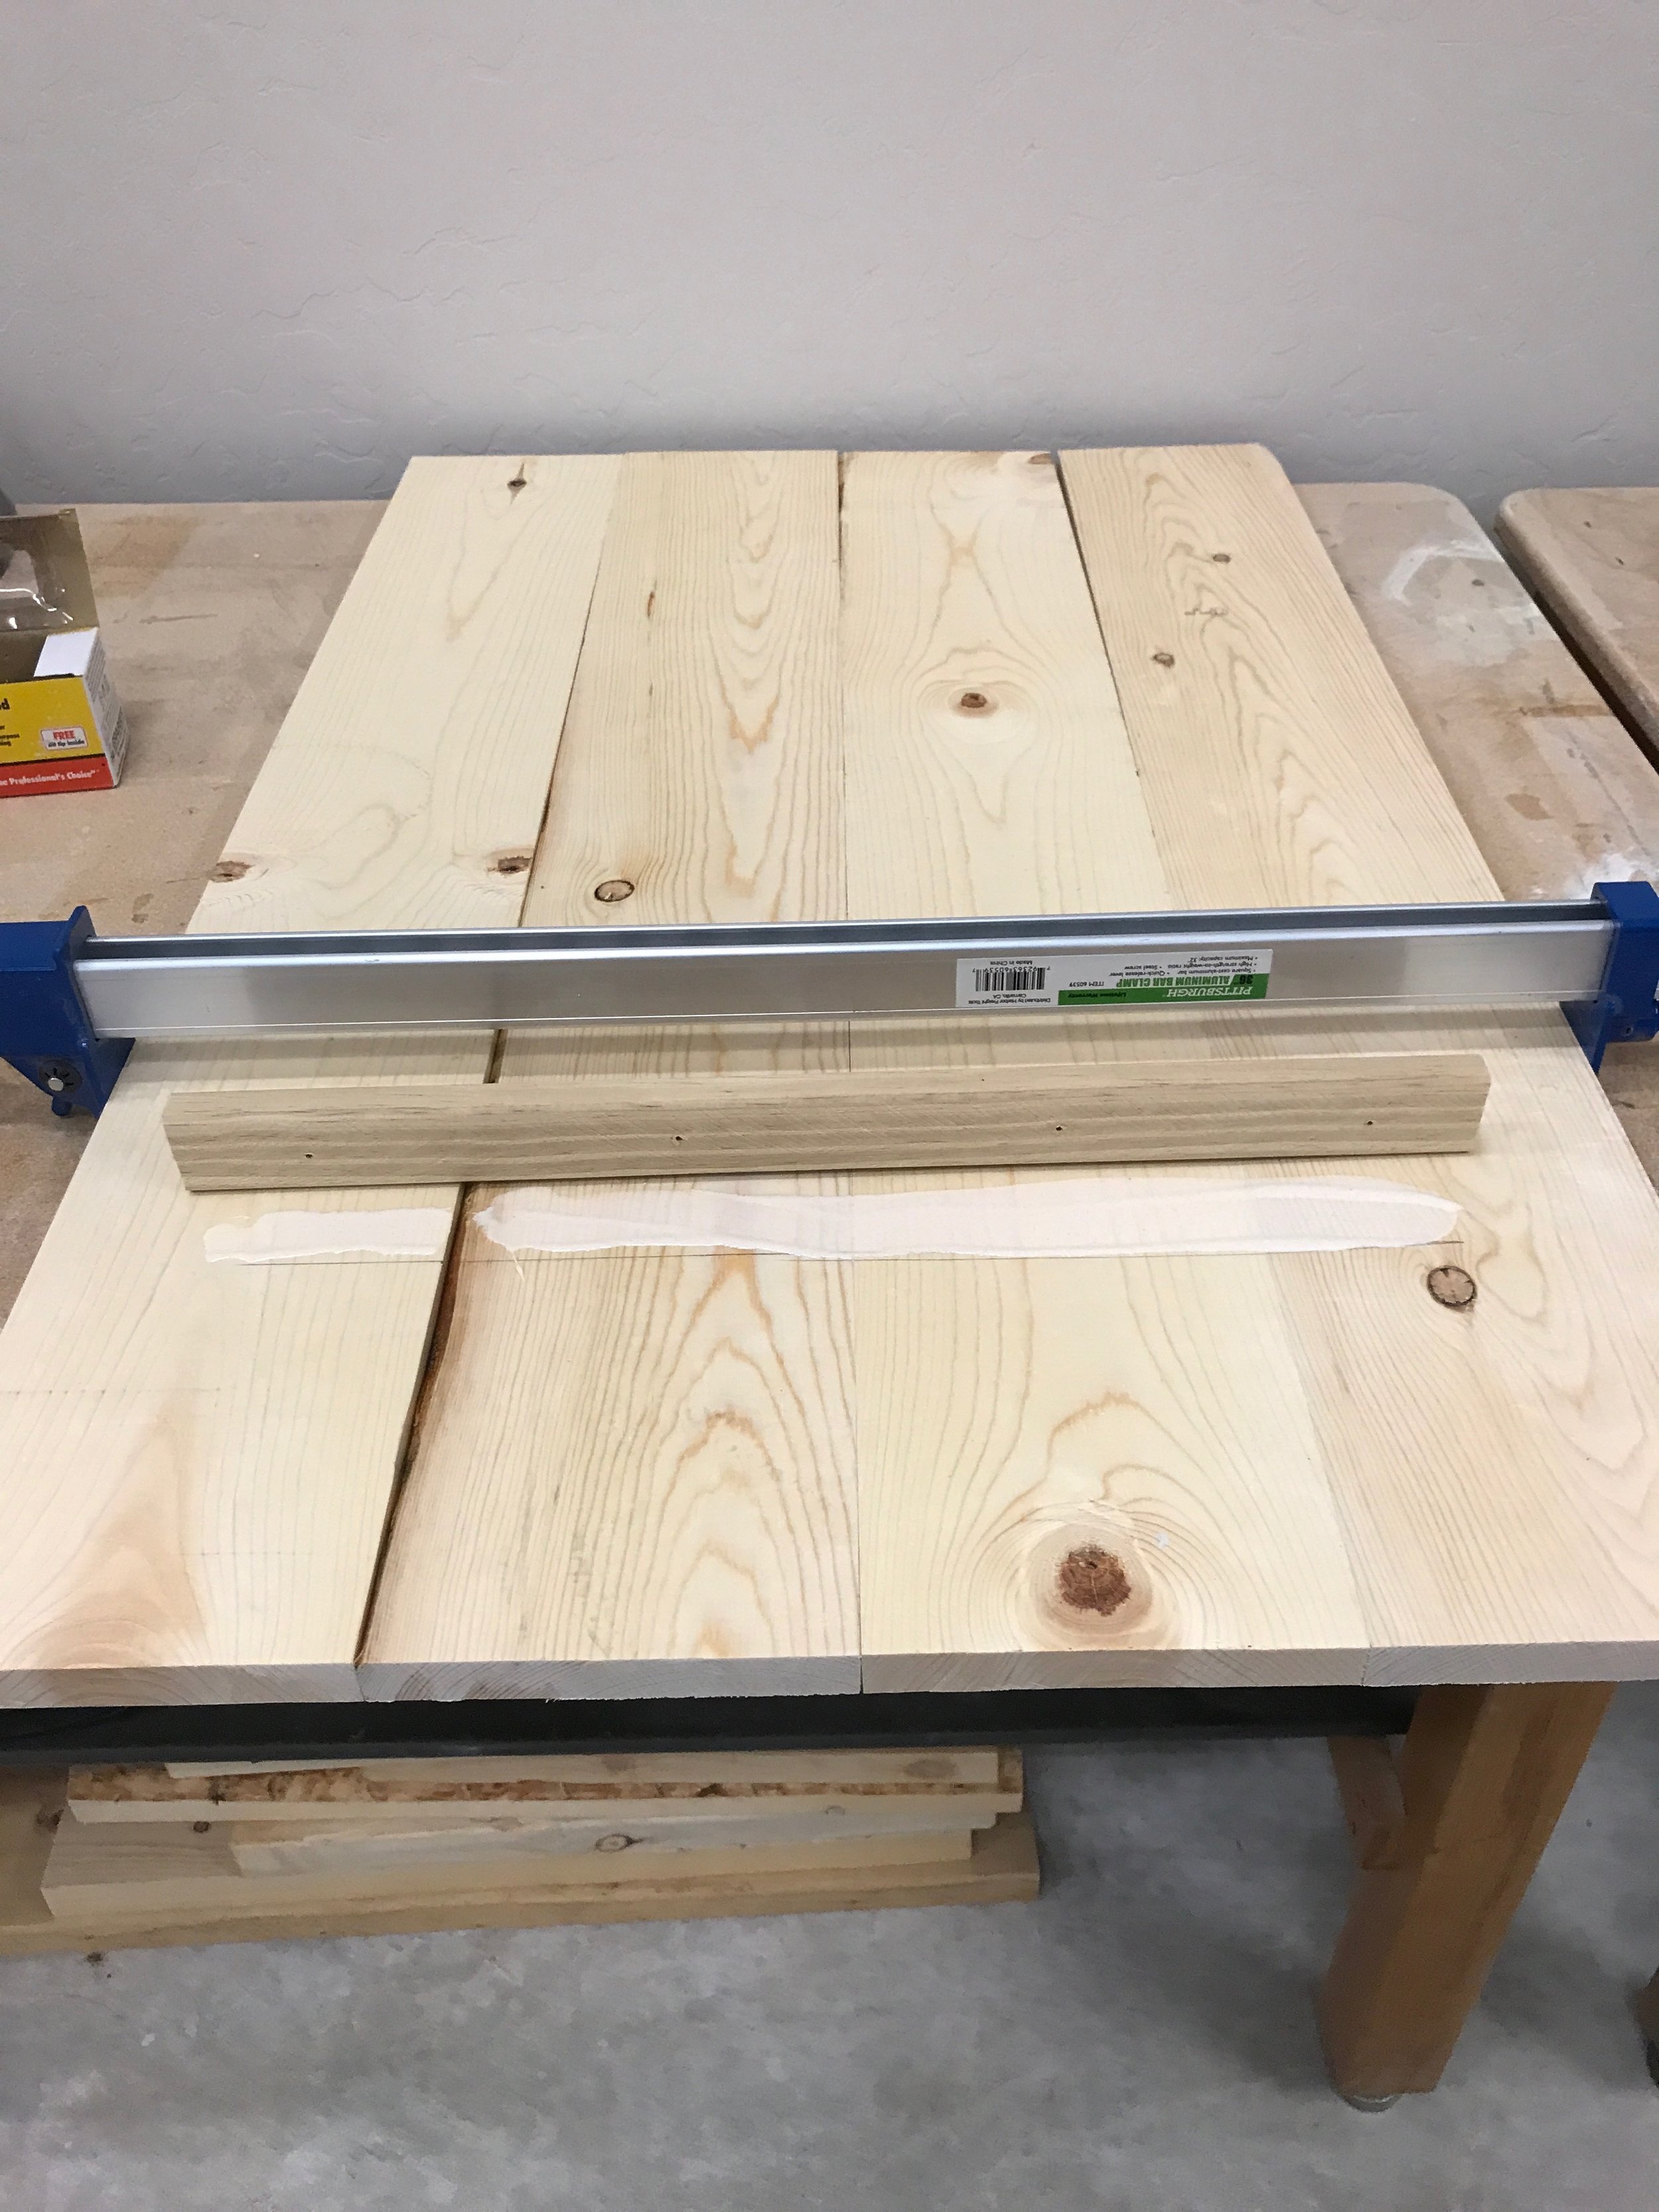
When I was ready to put the sign together, I laid the four pieces out on the table. I clamped all four together lightly, watch for the 2 outside pieces lifting slightly because you don't want there to be a curve to your sign. If you don't have clamps don't stress you can do it without them. It was then time to grab the braces I cut earlier and place them across the 4 1x6's about 2 inches from the edge and mark them for 4 pilot holes. After they were marked, I used a small drill bit and made pilot holes to help keep the 1x2's from splitting when I put the screws in. After the pilot holes were drilled I applied a small amount of wood glue where the brace will lay. I then screwed the braces down with 1 1/4 inch wood screws. Now with the sign together I lightly sanded the front and edges to prep it for staining.

I wiped the sign down with a tack cloth to get rid of all the dust particles. Time for staining. For this sign I used Weathered Oak by MinWax. While the first coat was drying, it gave me time to preparing my stenciling. I stenciled on a heart in teal in the lower left hand corner and let it dry. I used my Cricut to cut the letters out of vinyl. In the top right hand corner I put Est. and the date of the wedding. In the bottom left I put the first initials of the couple on top of the heart with a plus sign in between in white vinyl. I like to cut the letters out of paper first to make sure the size is what I'm looking for before I cut it out of vinyl.

After the letters where done it felt like it needed something else. I decided to paint the edge of the sign the same teal as the heart. Remember that once it is signed by all the guest the front will be full. I taped of the front of the sign so that I didn't get paint on it and put 2 light coats of paint. Not on my kitchen counter :)-

It was then ready to make its way to the wedding for all the guests to sign. Once the wedding is over I will take it back and apply a clear coat over the front to preserve the signatures and then it will be ready to hang on the newly weds wall!

Thank you for spending time with me and until next time....
Addie